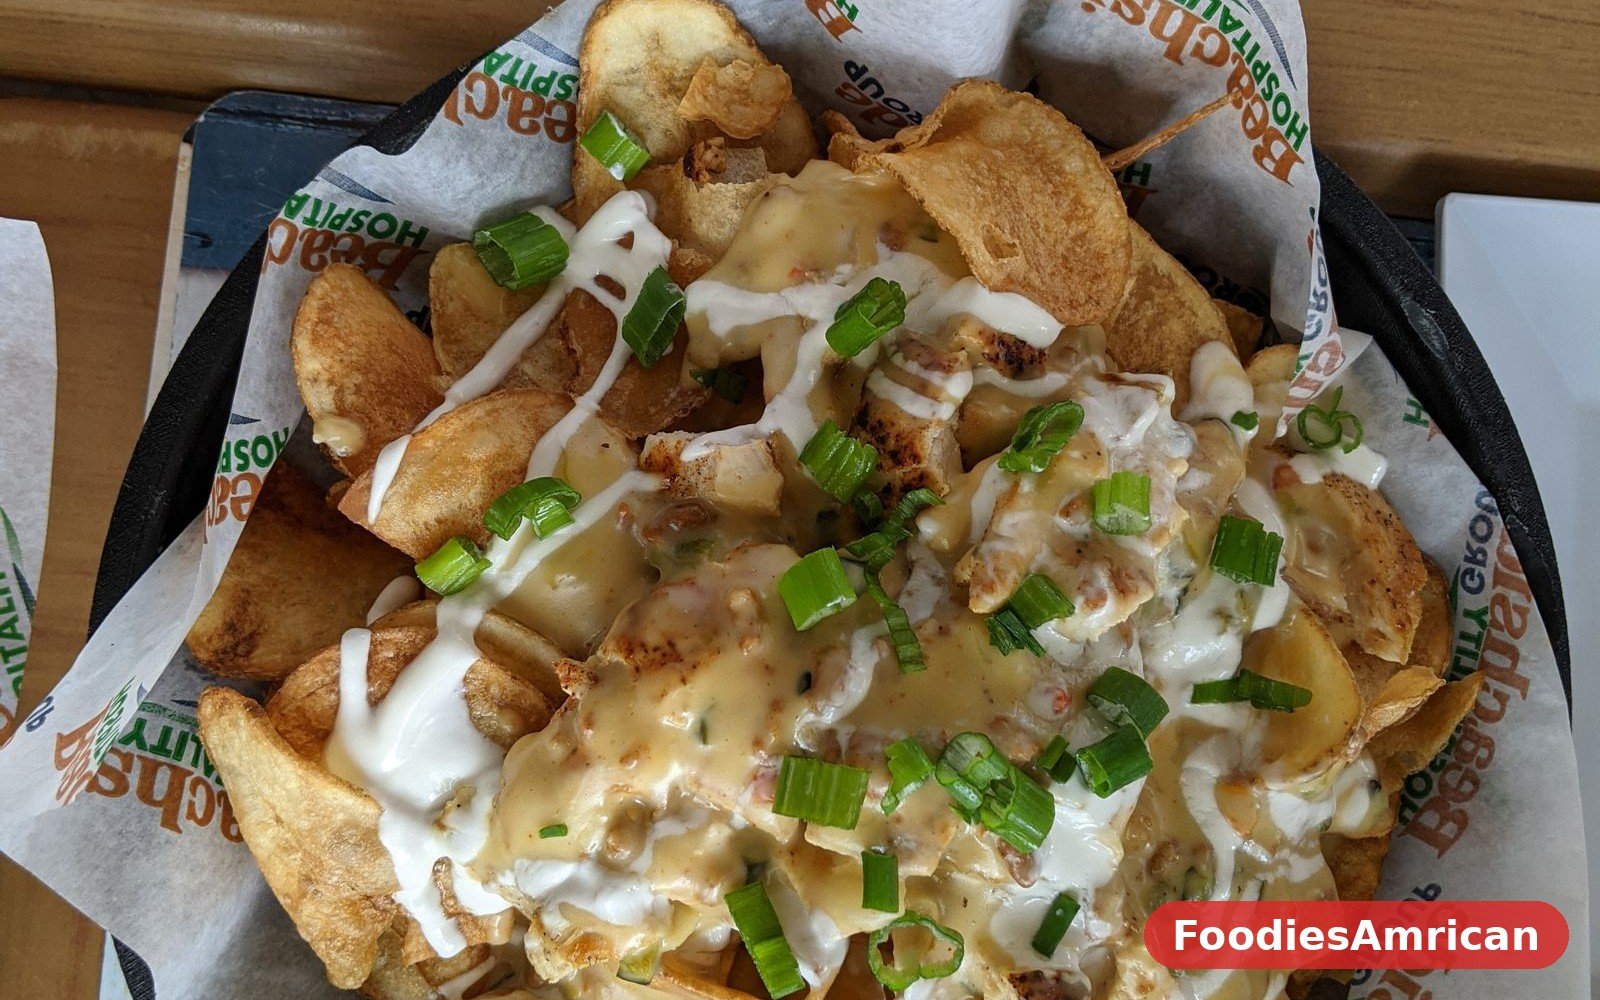
Air Fryer Potato Skins
There is a reason potato skins show up on almost every appetizer menu in America. They take the best part of a baked potato, the salty, crispy skin, and turn it into a little boat for cheese and bacon and sour cream. The first time I made them at home, I was surprised by how simple they were. Bake the potatoes, scoop them out, crisp the skins, fill them, and melt the cheese. That is the whole job, and the result tastes like something you would pay good money for at a restaurant.
The air fryer makes them even better, and I say that as someone who has made them in the oven for years. The oven version is good, but the air fryer gets the skins properly crackly, the kind of crisp that shatters a little when you bite into it, without drying them out. It also cooks them faster, which matters when you are making a batch for a game and you do not want the oven tied up for an hour. The cheese melts beautifully in the last couple of minutes, and the whole thing comes together in a way that feels almost too easy for how good it tastes.
I like making these on a Sunday afternoon, when there is a game on and nobody wants a formal meal. They are also the thing I make when I have leftover baked potatoes in the fridge and I need to turn them into something people actually want to eat. The scooped-out potato flesh never goes to waste in my kitchen. It becomes mashed potatoes for another night, or it gets fried up with a little butter for breakfast. Nothing fancy, just practical cooking, the way it should be.
What I love about potato skins is that they are a blank canvas. The classic version is cheese, bacon, and green onions with sour cream, and that is a hard combination to beat. But you can go in a dozen directions from there, and the recipe below is written so you can swap things in and out without breaking anything. Make them once the classic way, and then make them your own.
Why You’ll Love This Recipe
The texture is the first thing you will notice. A good potato skin should be crisp enough to hold its shape when you pick it up, with a little give in the middle where the filling sits, and the air fryer delivers that better than anything else I have tried. The hot air circulates all around the skin, drying out the outside and turning it golden, while the inside stays just soft enough to be pleasant. It is the difference between a skin that flops and a skin that crunches.
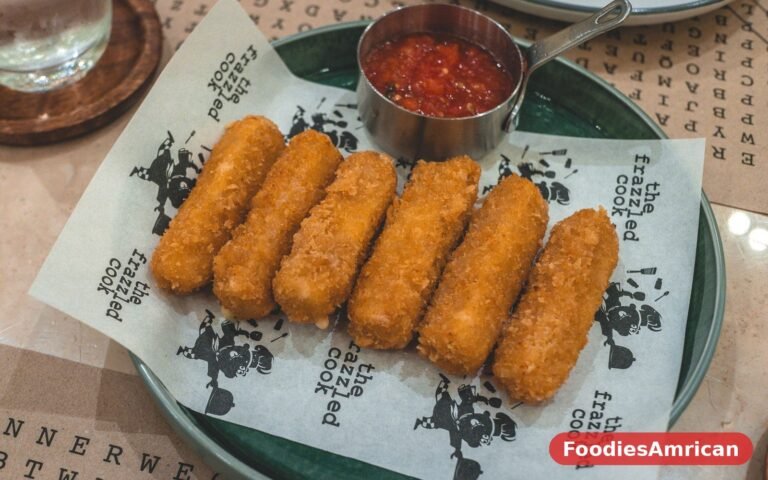
They are also a great way to feed a crowd without a lot of work. Four potatoes make eight skins, which sounds modest until you realize how filling they are, and doubling the recipe is as simple as baking a few more potatoes. You can do the baking and scooping ahead of time, and then crisp and fill them right before serving, so you are not stuck in the kitchen while everyone else is watching the game. If you like make-ahead appetizers, these belong in your regular lineup alongside air fryer mozzarella sticks, which are another one of my go-to party foods.
The filling is flexible, which means these work for almost anyone. Keep them classic, load them up with chili, make a vegetarian version with broccoli and cheese, or use them to use up whatever is in the fridge. They are also naturally gluten-free, which is helpful when you are feeding a mixed crowd and you do not want to make a separate dish for one person. Just check that your bacon and cheese are gluten-free if that matters for your guests, which they almost always are.
And there is something deeply satisfying about making a restaurant favorite at home for a fraction of the price. A plate of potato skins at a restaurant can cost as much as a whole meal, and here you are making a full batch from a few potatoes, a handful of cheese, and some bacon you probably already have. They taste better, too, because you control the salt, the crispness, and how much cheese goes on top, and nobody at home is going to skimp on the cheese the way a restaurant does.
Ingredients You’ll Need
- 4 large russet potatoes, scrubbed clean
- 1 tablespoon olive oil
- 1 teaspoon fine sea salt, plus more for the skins
- 1/2 teaspoon black pepper
- 4 slices bacon, cooked until crisp and crumbled
- 1 1/2 cups shredded sharp cheddar cheese
- 1/2 cup sour cream, for serving
- 3 green onions, thinly sliced
- 2 tablespoons unsalted butter, melted
- 1/2 teaspoon garlic powder
- 1/2 teaspoon paprika
- Olive oil spray or cooking spray, for the basket
How to Make Air Fryer Potato Skins
Start with the potatoes, and pick good ones. Russets are the right choice here because they are starchy, they bake up fluffy inside, and their skins get thick and sturdy enough to hold a filling. Look for potatoes that are roughly the same size, so they cook evenly, and avoid any with green spots or soft patches. Scrub them well under running water, because the skin is the star of this dish and you want it clean. Pat them dry, then rub each one all over with a little olive oil and a good pinch of salt. The oil helps the skin crisp, and the salt seasons it from the outside in.
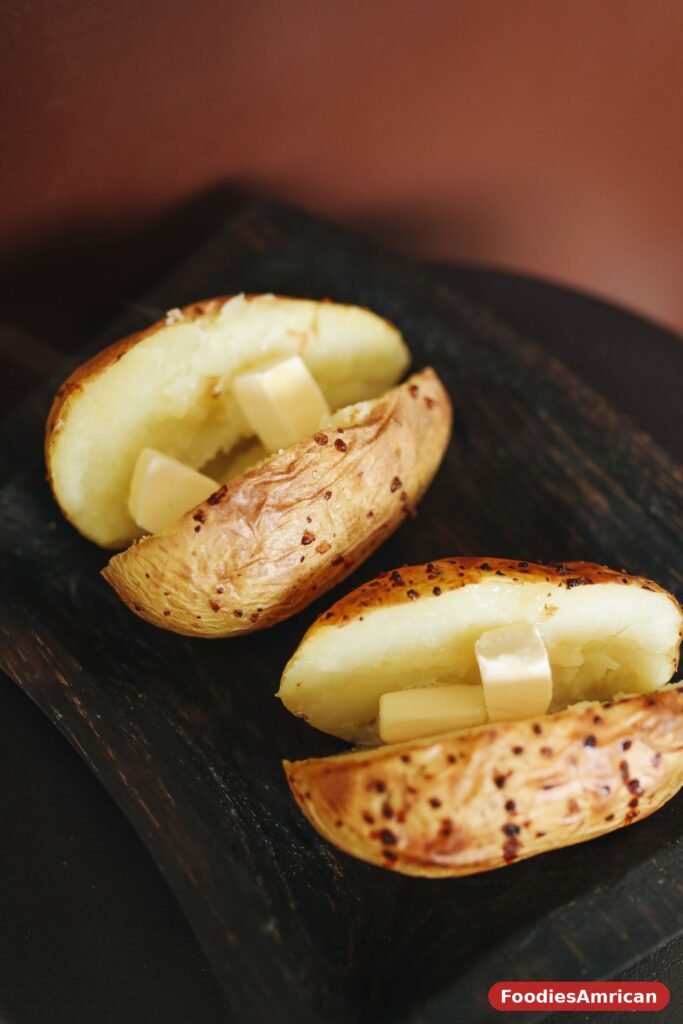
Bake the potatoes until they are completely tender. You can do this in the oven at 400°F for 45 to 60 minutes, turning them once halfway through, or in the air fryer at 400°F for about 35 to 40 minutes. Either way, they are done when a knife slides into the center with no resistance at all. Let them cool for about ten minutes, just until you can handle them without burning your fingers, but do not let them go cold. A warm potato is much easier to scoop than a cold one, and the skin is less likely to tear when it is still a little soft and flexible.
Cut each potato in half lengthwise, and scoop out the flesh with a spoon, leaving about a quarter-inch border all the way around. This is the part that takes a little patience. Go slowly, and use a small spoon so you have control. You want to leave enough potato attached to the skin that it holds its shape, but not so much that the skin is thick and heavy. Save the scooped-out flesh in a bowl. It makes excellent mashed potatoes, or you can mash it with butter and milk and serve it alongside something else later in the week. Nothing goes to waste.
Brush the inside and outside of each skin with the melted butter, and season the insides with the garlic powder, paprika, salt, and pepper. The butter is what helps the skins turn golden and crisp, and the seasoning on the inside means every bite is flavored, not just the filling. Place the skins cut-side up in the air fryer basket, in a single layer, and cook them at 400°F for 6 to 8 minutes, until the edges are golden and the skins feel firm and crisp when you touch them. You may need to do this in two batches, depending on the size of your basket, and that is fine. Let each batch crisp properly rather than crowding them.
Now fill them. Spoon a generous amount of shredded cheddar into each skin, then sprinkle the crumbled bacon over the top. Put them back in the air fryer for another 2 to 3 minutes, just until the cheese is fully melted and bubbling a little at the edges. Watch them closely at this stage, because the cheese goes from perfectly melted to over-browned quickly, and you want it gooey, not scorched. Take them out, let them sit for a minute so the cheese settles, and then top each one with a dollop of sour cream and a scatter of sliced green onions. Serve them right away, while the skins are still crisp and the cheese is still warm and soft.
Tips for the Best Air Fryer Potato Skins
The potato matters more than anything else in this recipe. Russets are the classic choice for a reason: they have thick skins, a fluffy interior, and they hold their shape after scooping. Waxy potatoes like red potatoes or Yukon Golds will work in a pinch, but their skins are thinner and they tend to tear more easily, and they do not get as crisp. If you only have Yukon Golds, leave a slightly thicker border of flesh when you scoop, which gives the skin more support.
Do not skip the butter and seasoning on the inside of the skins. An unseasoned potato skin tastes flat, even with a good filling on top, and the butter is what carries the garlic and paprika into every bite. I brush the outsides too, because it helps them brown evenly, and a little extra salt on the outside is never a bad idea. This is also the step where a lot of people rush, so take your time and brush each skin properly.
Give them space in the basket. Potato skins need hot air circulating around them to crisp, and if they are packed in tight, the ones in the middle will steam instead of crisping. Two batches is better than one crowded one, and the first batch will stay warm for a few minutes on a plate while the second one cooks. If you are making a big batch for a party, keep the finished ones on a wire rack in a low oven at 200°F while you work through the rest. The wire rack lets air move underneath, so the bottoms stay crisp.
Shred your own cheese if you can. The pre-shredded bags are convenient, but they are coated in a powder that stops the shreds from sticking together, and that same powder stops the cheese from melting as smoothly. A block of sharp cheddar and a box grater takes about a minute, and the difference in how the cheese melts is noticeable. Sharp cheddar has the best flavor here, but a mix of cheddar and Monterey Jack melts beautifully too. For another potato dish that uses the same air fryer skills, crispy homemade potato wedges in the air fryer are worth trying next time you have russets to spare.
Variations to Try
The classic cheese and bacon version is hard to improve on, but there are plenty of good directions to take these in. For a chili cheese version, spoon a little warm beef chili into each skin before the cheese goes on, and top with sour cream and diced red onion. It turns an appetizer into a proper meal, and it is a great way to use up leftover chili. A barbecue version works the same way, with a spoonful of pulled pork or shredded chicken and a drizzle of barbecue sauce over the cheese.
For a vegetarian version, skip the bacon and fill the skins with steamed broccoli florets and cheese, or with sautéed mushrooms and a little garlic. A spinach and artichoke filling is also wonderful, and it makes these feel a little fancier, like something you would serve at a dinner party rather than a game. If you want a breakfast version, fill them with scrambled eggs and cheese and top with a little hot sauce, and you have a handheld breakfast that is far more interesting than toast.
You can also change the cheese. Pepper jack gives a gentle heat, smoked gouda adds a lovely depth, and a mix of cheddar and mozzarella gives you that long cheese pull that everyone loves. For a lighter version, use turkey bacon and reduced-fat cheese, and swap the sour cream for Greek yogurt, which is tangy and creamy and works surprisingly well. The skins themselves are the same either way, so feel free to make a few different fillings in one batch and let people choose.
Serving Ideas

Potato skins are at their best hot, with the cheese still soft and the skins still crackly, so time them to come out of the air fryer just as people are ready to eat. Set them out on a platter with the sour cream and green onions already on top, and put a small bowl of extra sour cream on the side for anyone who wants more. A bottle of hot sauce on the table is a good idea too, because some people will want a little heat and some will not, and it is easier to let them decide for themselves.
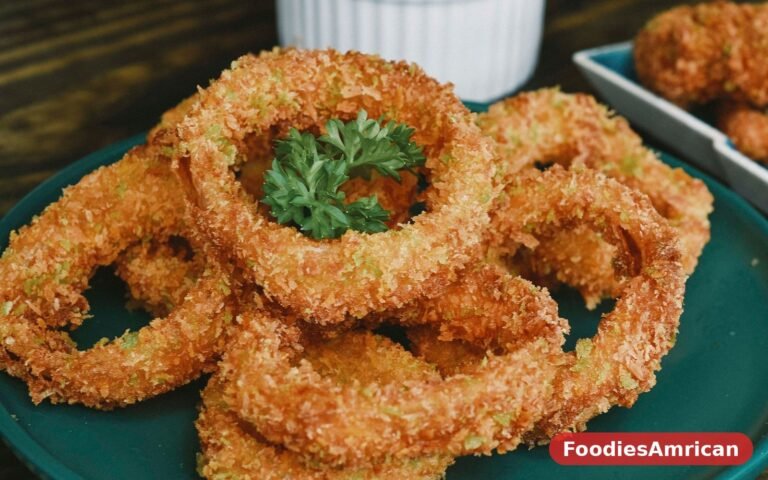
They work beautifully as part of a game day spread. Pair them with air fryer onion rings and a plate of wings, and you have a table that keeps people happy for hours. They also make a lovely side dish for a steak dinner, which is really what they were invented for, and they are substantial enough to stand next to a grilled steak without getting lost. If you are serving them as a side, two skins per person is usually plenty.
For a more casual dinner, serve them alongside a big salad and call it a meal. A crisp green salad with a sharp vinaigrette cuts through the richness of the cheese and bacon, and the combination feels balanced in a way that a plate of skins on their own does not. They also go well with a bowl of tomato soup on a cold night, which is one of my favorite comfort pairings. And if you are putting together a loaded-potato themed dinner, serve them with easy homemade loaded fries with chicken on the side, and you will have a table full of happy people.
Storage and Reheating
Leftover potato skins keep in the fridge for up to three days in an airtight container. Let them cool completely before you pack them away, and if you are stacking them, put a piece of parchment between the layers so the cheese does not glue them together. The sour cream and green onions are best added fresh after reheating, so if you have any left over, store the toppings separately.
To reheat, put the skins back in the air fryer at 350°F for three to four minutes, until the cheese is melted again and the skins are crisp. This works remarkably well, and they come back almost as good as fresh. You can also use a regular oven at 375°F for about seven minutes on a wire rack. Avoid the microwave if you can, because it will make the skins soft and chewy, which defeats the whole point of making them crisp in the first place.
You can also prepare the skins ahead of time, which is the method I use when I am having people over. Bake the potatoes, scoop them, and crisp the empty skins, then let them cool and store them in the fridge for up to two days. When you are ready to serve, fill them with cheese and bacon and pop them back in the air fryer for a few minutes to melt the cheese. It cuts the work on the day down to almost nothing, and nobody will know you did most of it yesterday.
Frequently Asked Questions
What kind of potato is best for potato skins?
Russet potatoes are the best choice, because they have thick, sturdy skins that hold up to scooping and filling, and a fluffy interior that scoops out cleanly. Look for potatoes that are similar in size so they bake evenly. Waxy potatoes like red potatoes have thinner skins that tear more easily, so if you use them, leave a thicker border of flesh for support. The folks at Taste of Home have a good oven version of this recipe if you want to compare methods.
How do I keep the skins from tearing when I scoop them?
Let the potatoes cool for about ten minutes after baking, so they are warm but not too hot to handle. Use a small spoon and work slowly, leaving about a quarter-inch border of flesh all the way around. A warm potato scoops much more cleanly than a cold one, and if you do tear one a little, it is not a disaster. The cheese will hold it together once it melts, and nobody will notice a small tear once it is filled.
Can I make potato skins ahead of time?
Yes, and they are ideal for it. Bake and scoop the potatoes, then crisp the empty skins in the air fryer and store them in the fridge for up to two days. When you are ready to serve, fill them with cheese and bacon and cook them for a few minutes until the cheese melts. You can also freeze the crisped, unfilled skins for up to a month, and fill them straight from frozen with a couple of extra minutes of cooking time.
Why are my potato skins not crispy?
The most common reason is that they were crowded in the basket, which traps steam and stops the skins from crisping. Cook them in a single layer with space between them, and make sure the skins are brushed with butter or oil before they go in. If your potatoes were very large, they may also need a couple of extra minutes. You can find more air fryer guidance in the Taste of Home air fryer potato skins recipe, which covers the same crisping technique.
What can I do with the scooped-out potato flesh?
Do not throw it away. It makes excellent mashed potatoes with a little butter and milk, or you can fry it up in a skillet with butter and onions for a quick hash. I often save it in the fridge and use it for shepherd’s pie filling or potato soup later in the week. It is perfectly good potato, and wasting it would be a shame.
Can I make these without bacon?
Absolutely. Leave the bacon out and add extra cheese, or fill the skins with steamed broccoli, sautéed mushrooms, or a spoonful of chili instead. A vegetarian version with broccoli and cheddar is one of my favorites, and it is just as satisfying as the classic. If you want a smoky flavor without bacon, a pinch of smoked paprika in the seasoning does a lot of the work.