One-Pan Beef Chili with Beans
There are dinners that feel like a project, and then there is chili. Chili is the dinner you make when you are tired, when it is cold outside, when friends are coming over and you do not want to fuss, or when you just want the house to smell wonderful for an hour. You brown some beef, you add onions and spices, you pour in tomatoes and beans, and then you let it simmer while you do something else. That is the whole job, and the result is a pot of something rich, warm, and deeply satisfying that somehow tastes like you worked much harder than you did.
I have been making chili for years, and it is one of those recipes that has changed slowly over time as I figured out what I liked. More cumin than I used to use, a little less heat than I thought I wanted, and a spoonful of something sweet at the end to round out the tomatoes. The version below is the one I have settled on. It is not the spiciest chili you will ever eat, and it is not the most exotic. It is a solid, honest, American-style beef chili with beans, the kind that everyone at the table recognizes and likes, and that is exactly the point.
The one-pan part matters, because it is what makes this a weeknight dinner instead of a weekend project. Everything happens in a single large pot or Dutch oven, from browning the beef to simmering the finished chili, which means there is one pot to wash at the end. If you have ever made a dinner that used every pan in the kitchen and then stood at the sink for twenty minutes afterwards, you know why that matters. A good chili should leave you with a full belly and a clean kitchen, not a pile of dishes.
This recipe also scales beautifully. Double it for a crowd, or make a full pot on Sunday and eat it all week. Chili is one of those rare dishes that actually tastes better the next day, once the flavors have had time to settle and deepen, so leftovers are not a consolation prize. They are the plan. I often make a big batch on purpose, because I know Tuesday’s dinner is already sorted, and that is a feeling worth cooking for.
Why You’ll Love This Recipe
First, it is genuinely easy. There is no special technique here, no tricky timing, and nothing that can really go wrong as long as you brown the beef properly and give the chili time to simmer. If you can chop an onion and stir a pot, you can make this chili. It is a good recipe for someone who is still building confidence in the kitchen, and it is a reliable one for someone who has been cooking for years and just wants dinner to be simple tonight.
Second, it is flexible. The spice level is easy to adjust, the beans can be swapped for whatever you have, and the toppings are entirely up to you. Some people like their chili with cheese and sour cream, some like it plain with cornbread, and some like it over rice or a baked potato. All of those are correct. This recipe gives you a solid, well-seasoned base, and then you can dress it up however your household likes it. If you enjoy hearty one-pan dinners, easy ground beef skillet with potatoes is another one-pot favorite in the same style.
Third, it feeds a crowd without a lot of money or effort. A pound and a half of ground beef, a couple of cans of beans, and a can of tomatoes stretch into six generous servings, and doubling the recipe is as simple as using a bigger pot. This is the dinner I make when friends drop by unexpectedly, because I can almost always throw it together from what is already in the cupboard, and nobody has ever been disappointed by a pot of chili on the stove.
And finally, the leftovers are wonderful. Chili keeps in the fridge for four or five days, and it freezes beautifully for months. It is just as good spooned over a baked potato, piled onto nachos, or tucked into a burrito as it is in a bowl on its own. Making a double batch is never a mistake, because chili has a way of disappearing over the course of a week in ways that other leftovers do not.
Ingredients You’ll Need
- 1 1/2 pounds ground beef, 80/20
- 1 tablespoon olive oil
- 1 large yellow onion, diced
- 1 green bell pepper, diced
- 3 cloves garlic, minced
- 2 tablespoons chili powder
- 1 tablespoon ground cumin
- 1 teaspoon smoked paprika
- 1 teaspoon dried oregano
- 1/2 teaspoon cayenne pepper, or to taste
- 1 teaspoon fine sea salt, plus more to taste
- 1/2 teaspoon black pepper
- 1 tablespoon tomato paste
- 1 can (28 ounces) crushed tomatoes
- 1 can (15 ounces) kidney beans, drained and rinsed
- 1 can (15 ounces) pinto beans, drained and rinsed
- 1 cup beef broth
- 1 tablespoon brown sugar
- 1 tablespoon apple cider vinegar
- Shredded cheddar cheese, sour cream, and sliced green onions, for serving
How to Make One-Pan Beef Chili with Beans
Start with a large, heavy pot or Dutch oven over medium-high heat. A heavy pot matters here, because it holds the heat evenly and keeps the chili from scorching on the bottom during the long simmer. Add the olive oil, and when it is shimmering, add the ground beef. Break it up with a wooden spoon into small crumbles, and let it cook without stirring too much at first. You want the beef to actually brown, not just turn grey, and that means giving it space and time in the hot pot. Stirring every few seconds will steam the meat instead of browning it, so break it up, spread it out, and let it sit for a minute or two before you stir again. This takes about seven or eight minutes, and it is worth doing properly, because the browned bits at the bottom of the pot are where a lot of the flavor comes from.
Once the beef is browned all the way through, push it to one side of the pot and add the diced onion and bell pepper to the empty space. Cook them for about five minutes, stirring occasionally, until the onion is soft and translucent and the pepper has started to soften. Then stir in the garlic and cook for just one more minute, until it smells fragrant. Garlic burns quickly, so keep it moving and do not let it sit on the hot metal for too long. At this point, the pot should smell wonderful, like the beginning of a proper dinner, and that is a good sign.
Now add the spices. Sprinkle the chili powder, cumin, smoked paprika, oregano, cayenne, salt, and pepper over the meat and vegetables, and stir everything together for about a minute. This step, which cooks call blooming the spices, wakes them up. The heat and the fat in the pot draw out the flavors in a way that just dumping the spices into liquid never does, and it makes a real difference to the finished chili. You will notice the smell change almost immediately, getting deeper and warmer. Stir in the tomato paste as well, and let it cook for another minute, until it darkens slightly and coats the meat. Tomato paste straight from the can tastes tinny and sharp, but a minute in a hot pot sweetens it and deepens it, and it gives the chili a richer base.
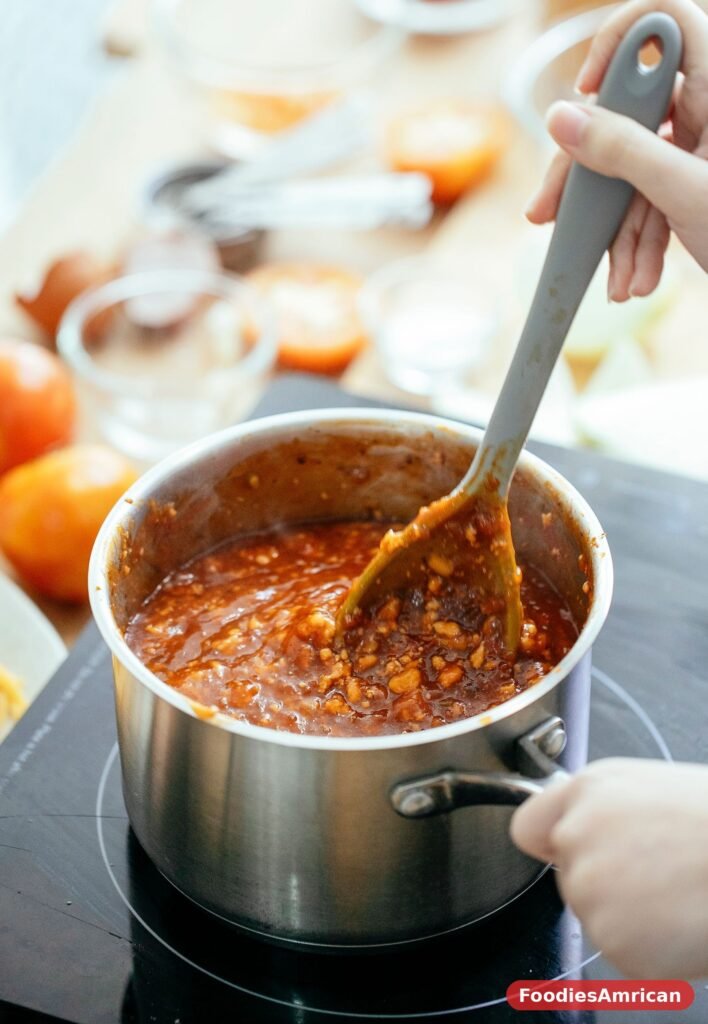
Pour in the crushed tomatoes, the drained beans, and the beef broth, and stir everything together, scraping the bottom of the pot with your spoon to lift up any browned bits that stuck there. Those bits are flavor, and the liquid will dissolve them right back into the chili. Bring the pot to a gentle boil, then turn the heat down to low, put the lid on slightly ajar, and let it simmer for at least 35 minutes. An hour is even better if you have the time, because the flavors deepen and the chili thickens as it cooks. Stir it every ten minutes or so, just to make sure nothing is sticking to the bottom, and keep the heat low enough that it bubbles gently rather than boiling hard.
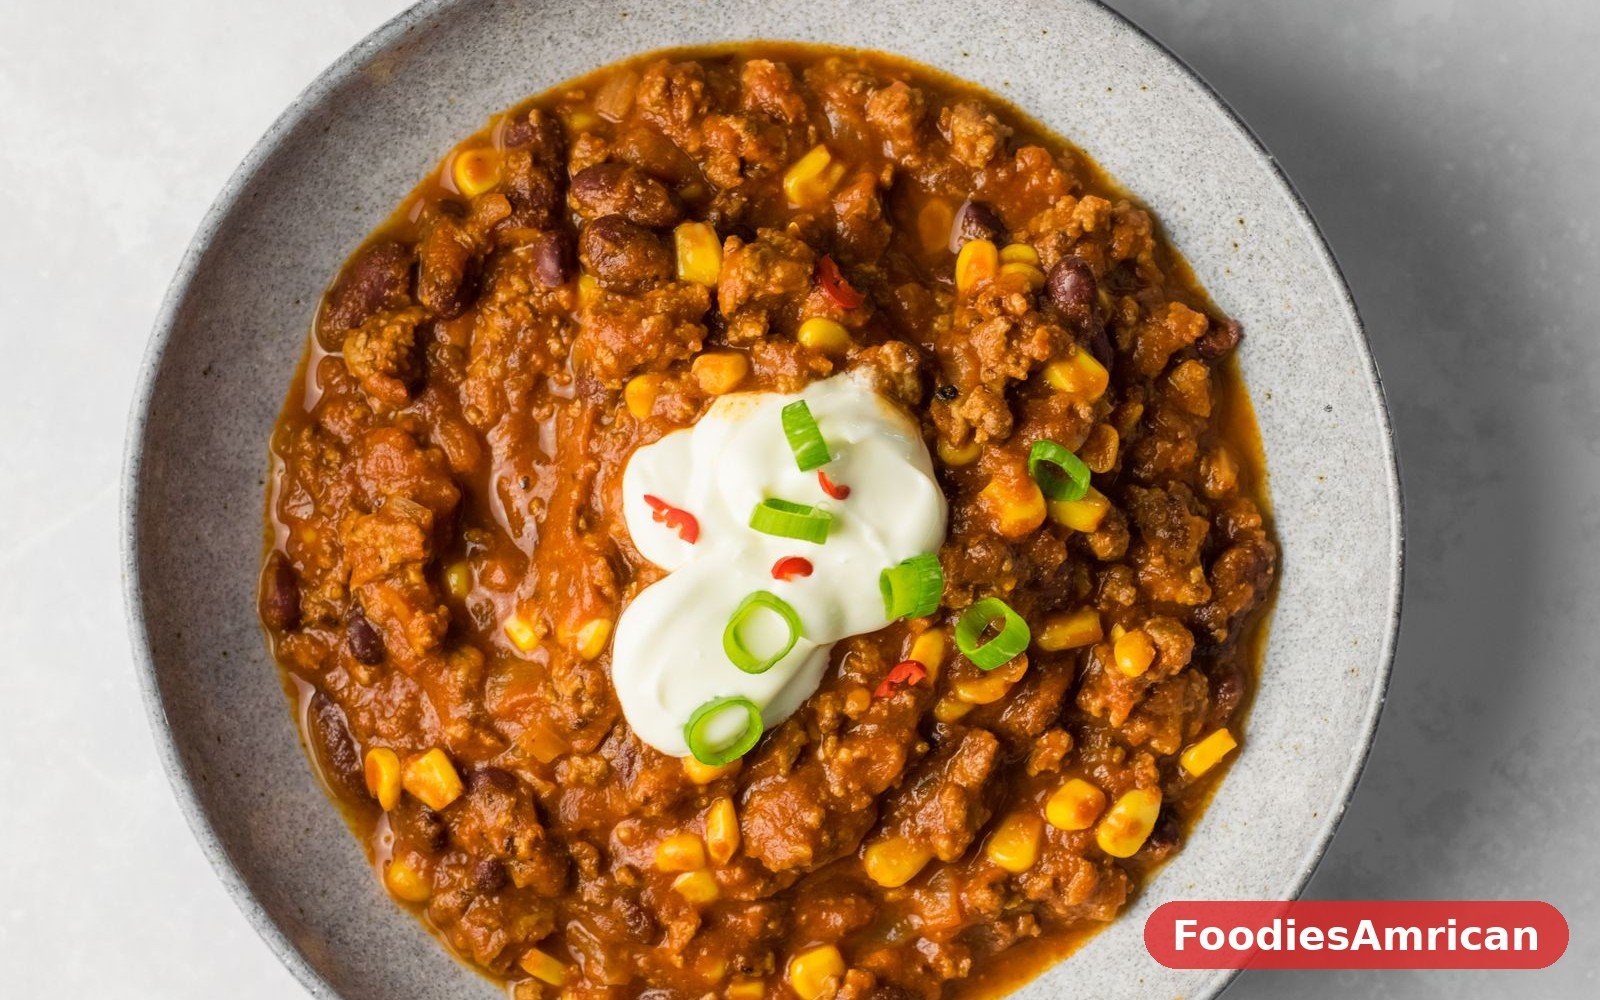
In the last five minutes, stir in the brown sugar and the apple cider vinegar. The sugar is not there to make the chili sweet. It is there to balance the acidity of the tomatoes, and a single tablespoon rounds out the flavor without making it taste sugary. The vinegar does the opposite job, adding a little brightness that lifts the whole pot. Taste the chili now, and adjust the salt, the heat, and the seasoning to your liking. If it tastes flat, it usually needs more salt. If it tastes too sharp, a little more sugar will fix it. If you want more warmth, add a pinch more cayenne, but add it a little at a time, because you can always add more heat and you cannot take it away. Ladle the chili into bowls, top with cheese, sour cream, and green onions, and serve it hot.
Tips for the Best One-Pan Beef Chili with Beans
Brown the beef properly. This is the single most important step, and it is the one people rush most often. If the beef goes into a crowded pot and gets stirred constantly, it will steam and turn grey, and the chili will taste flat. Use a large pot, let the oil get hot, spread the beef out, and give it time to develop a proper brown crust before you stir it. If your pot is not big enough to brown all the beef at once, do it in two batches. It takes a few extra minutes, but the flavor payoff is enormous.
Bloom the spices in the hot fat before you add the liquid. I talked about this above, but it is worth repeating, because it is the difference between chili that tastes like spices were sprinkled on top and chili that tastes deeply seasoned all the way through. A minute in the hot pot with the meat and vegetables is all it takes, and the smell will tell you when it is working. Just do not let the spices sit too long or they will burn, so keep stirring and add the tomatoes as soon as the spices smell fragrant.
Give it time to simmer. Thirty-five minutes is the minimum, and an hour is better. Chili needs time for the flavors to come together, for the tomatoes to mellow, and for the liquid to reduce and thicken. If your chili is still thin after simmering, take the lid off for the last fifteen minutes and let it reduce, or mash a few of the beans against the side of the pot with a spoon, which thickens the chili naturally. If it gets too thick, stir in a splash more beef broth. You are in control of the texture, and a little adjustment at the end is normal.
Taste and adjust at the end, not at the beginning. The flavors change as the chili simmers, and seasoning it too early will lead you astray. Wait until the last five minutes, then taste it properly, and adjust the salt, sugar, vinegar, and heat until it tastes right to you. A squeeze of lime juice at the end is another good finishing touch if you have one, and it brightens the whole pot in the same way the vinegar does. If you like this kind of slow-simmered, one-pot cooking, classic American meatloaf with tomato glaze is another comfort classic that rewards a little patience.
Variations to Try
The easiest variation is the heat level. Leave the cayenne out entirely for a mild, family-friendly chili, or add a diced jalapeño with the onions for a fresher, greener heat. A chipotle pepper in adobo sauce, minced and stirred in with the tomatoes, gives a smoky heat that is wonderful in the winter, and a teaspoon of hot sauce at the end is the simplest way to adjust the heat bowl by bowl. Everyone can season their own serving, which keeps the peace at the table.
For a heartier version, add a diced sweet potato or a cup of corn kernels in the last twenty minutes of cooking. The sweet potato softens into the chili and adds a gentle sweetness, while the corn adds a little pop of texture and color. You can also swap the beans: black beans, great northern beans, or chickpeas all work, and a mix of three beans is a classic for a reason. If you want to skip the beans entirely, just leave them out and add an extra half pound of beef, though the beans are what make this version so filling and affordable.
A vegetarian version is easy too. Leave out the beef, add an extra can of beans and a diced sweet potato, and use vegetable broth instead of beef broth. The spices and the tomatoes carry the flavor, and the chili is still rich and satisfying. For a smoky, grown-up version, stir in a tablespoon of cocoa powder with the spices. It sounds strange, but cocoa deepens the flavor of chili in the same way it deepens a mole sauce, and you will not taste chocolate. You will just taste a chili that is richer and more complex than you expected.
Serving Ideas
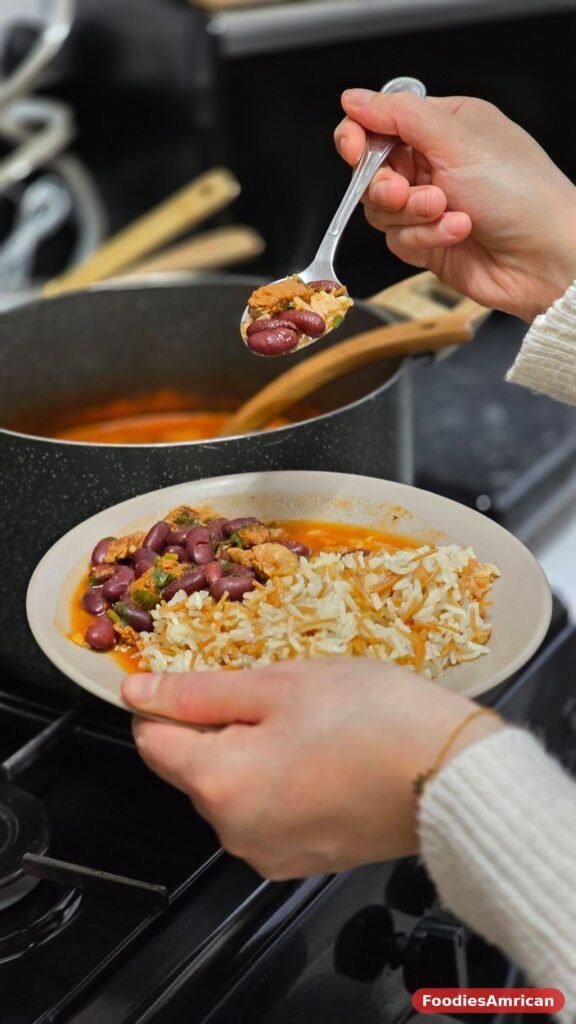
The classic way to serve chili is in a bowl, with shredded cheddar, a dollop of sour cream, and a scatter of green onions on top. That is how I serve it most of the time, and it needs nothing else. But a pot of chili is also the start of a dozen other meals, and that is part of its charm. Spoon it over a baked potato with cheese and sour cream, and you have a dinner that feels completely different from the bowl you had last night. Pile it onto tortilla chips with cheese for nachos, or tuck it into a warm tortilla with rice for a burrito.
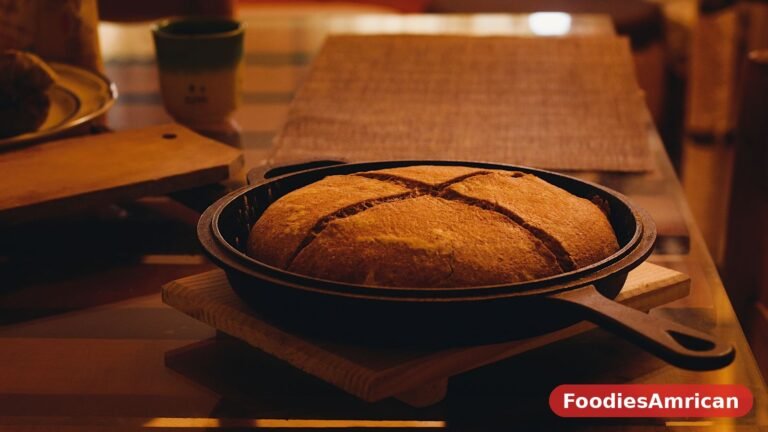
Cornbread is the traditional partner, and it is the one I reach for most often. A warm, buttery square of southern skillet cornbread alongside a bowl of chili is one of the great American pairings, and the cornbread is perfect for soaking up the last of the sauce. Rice works too, especially if you like your chili a little saucier, and a simple green salad on the side keeps the meal from feeling too heavy. For a game day spread, set the pot on the table with a topping bar, cheese, sour cream, onions, jalapeños, hot sauce, and let people build their own bowls.
Chili also makes a wonderful topping for other things. Spoon it over easy cheesy beef tacos for a loaded taco night, or serve it over hot dogs for chili dogs, which are a particular favorite with kids. A chili-topped baked potato is a full meal on its own, and a chili cheese dip, made by stirring a cup of cream cheese into a pot of chili, is a party appetizer that disappears fast. One pot, many dinners, and that is the real value of a good chili.
Storage and Reheating
Chili keeps in the fridge for four to five days in an airtight container, and it genuinely tastes better on the second day, once the flavors have had time to settle. Let it cool to room temperature before you put it away, and do not leave it sitting out for more than two hours. Store the toppings separately, so the cheese and sour cream stay fresh, and add them after reheating.
To reheat, warm the chili gently in a pot over medium-low heat, stirring occasionally, until it is hot all the way through. Add a splash of beef broth or water if it has thickened too much in the fridge, which it usually does. The microwave works for single servings, in a covered bowl, stirred halfway through. Chili also freezes beautifully. Let it cool completely, portion it into freezer bags or containers, and freeze for up to three months. Thaw it overnight in the fridge, then reheat it on the stove. It will taste just as good as the day you made it, which is more than you can say for most leftovers.
Frequently Asked Questions
Should chili have beans in it?
That depends on who you ask, and Texans will tell you firmly that it should not. But this is an American-style chili with beans, which is the version most home cooks make, and the beans make it heartier, more affordable, and more filling. If you prefer a no-bean chili, just leave the beans out and add an extra half pound of ground beef. The recipe works either way, and the seasoning is the same. The folks at RecipeTin Eats have a good discussion of the different styles if you want to read more about it.
How long should I simmer chili?
At least 35 minutes, and an hour is better if you have the time. The simmer is what lets the flavors come together and the chili thicken. If you are short on time, 35 minutes will give you a perfectly good pot of chili, but if you can let it go for an hour, you will notice the difference. A slow cooker works too: brown the beef and vegetables first, then transfer everything to a slow cooker and cook on low for six hours or on high for three.
Why does my chili taste flat?
Flat chili usually needs more salt, or it needs an acid to brighten it. Taste it at the end of cooking and add salt a little at a time until the flavors sharpen. A tablespoon of apple cider vinegar or a squeeze of lime juice will also lift the whole pot. If it still tastes one-note, check that you bloomed the spices properly, because spices added straight to liquid never develop the same depth. A pinch more cumin or chili powder, added at the end, can also help.
Can I make chili in a slow cooker?
Yes. Brown the beef, onion, and pepper in a skillet first, bloom the spices, and then transfer everything to a slow cooker with the tomatoes, beans, and broth. Cook on low for six hours or on high for three hours. Add the sugar and vinegar at the end, taste, and adjust. The slow cooker version is a little more hands-off, and it is a good option if you want dinner ready when you get home. Taste of Home has a classic chili con carne recipe that follows the same approach if you want a second reference.
How spicy is this chili?
This version is mildly warm, not hot. The cayenne gives it a gentle background heat, but it is not the kind of chili that makes your eyes water. If you like it milder, leave the cayenne out entirely. If you like it hotter, add a diced jalapeño with the onions, or stir in a minced chipotle pepper in adobo sauce with the tomatoes. Taste as you go, and remember that you can always add more heat at the end, but you cannot take it away.
What should I serve with chili?
Cornbread is the classic choice, and it is perfect for soaking up the sauce. Rice, a baked potato, or tortilla chips all work well too, and a simple green salad or coleslaw on the side keeps the meal balanced. For toppings, shredded cheddar, sour cream, diced red onion, sliced green onions, and jalapeños are all good. Set out a few options and let people build their own bowls, which is half the fun of a chili night.