
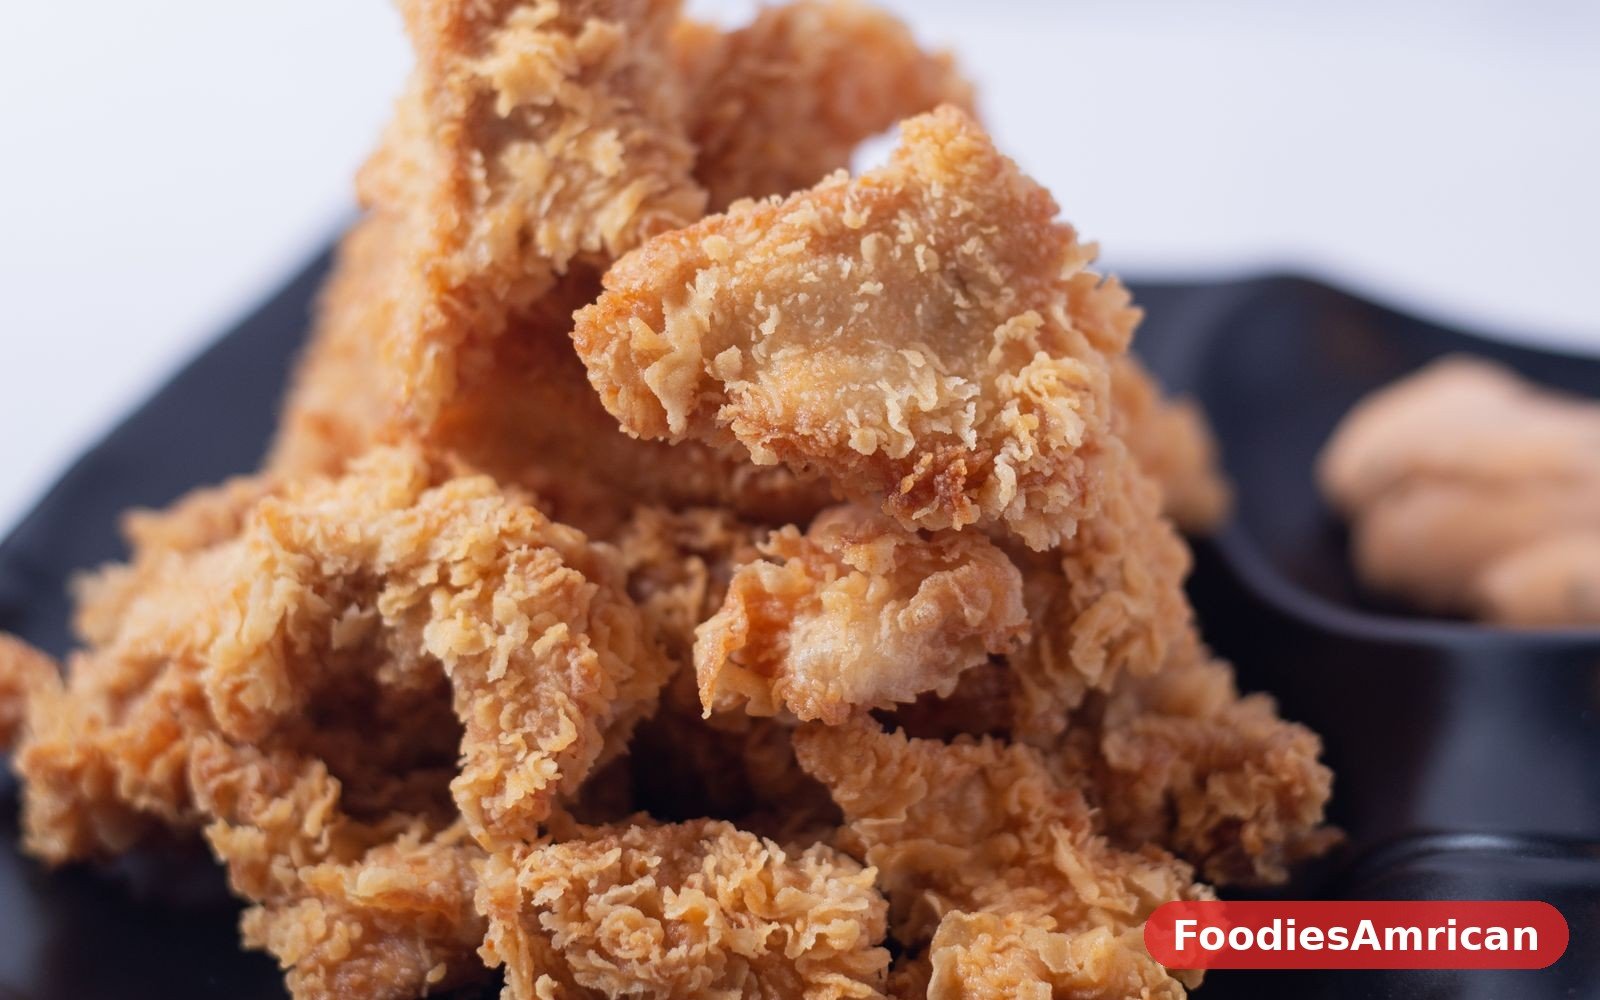
Southern Fried Chicken with Buttermilk
There is a sound that tells you fried chicken is going right, and it is the sound of the crust hitting the hot oil. It sizzles hard for a second, then settles into a steady crackle, and if you have done your prep properly, you can almost hear the coating setting into that shattering, golden shell we all want. This Southern fried chicken with buttermilk is the version I come back to again and again, the one my family asks for on Sundays and birthdays and any evening that needs cheering up. It is not fussy, it does not ask for special equipment beyond a heavy skillet, and it rewards patience more than skill.
The buttermilk does the heavy lifting here, and I mean that in the best way. A good soak in seasoned buttermilk tenderizes the chicken from the inside out, so the meat stays juicy even after a proper fry, and it gives the flour something to cling to. That is the whole secret, really. Wet, seasoned chicken meets well-seasoned flour, the coating sticks, and the hot oil does the rest. Skip the soak and you get chicken that is fine. Keep the soak and you get chicken people remember.
I learned this recipe the slow way, by making it badly a few times first. My first attempts had coating that slid right off in the oil, which is a special kind of heartbreak when you have been looking forward to dinner all day. The fix turned out to be simple: dry the chicken a little less than you think, let the coated pieces rest before frying, and do not crowd the pan. Resting lets the flour hydrate and glue itself to the skin, and an uncrowded pan keeps the oil hot enough to crisp instead of steam. Once I got those three things right, the recipe became almost automatic.
What you get at the end is chicken with a crust that actually crunches when you bite it, seasoned all the way through instead of just on the outside, and meat that is tender and juicy right down to the bone. Serve it hot from the skillet with mashed potatoes and greens, or let it cool and pack it for a picnic, because honestly, cold fried chicken eaten standing up in the kitchen is one of life’s small perfections. Either way, this is a recipe worth keeping in your back pocket.
Why You’ll Love This Recipe
First off, the flavor goes all the way through. Because the chicken soaks in seasoned buttermilk for hours, the seasoning is not just sitting on the crust. It has worked its way into the meat, so every bite tastes like something, not just the outside. The buttermilk also brings a gentle tang that balances the richness of the fry, which keeps the chicken from tasting heavy or greasy.
Second, the crust is the real deal. We use a double dredge and a rest, which sounds like extra work but takes about ten minutes of doing nothing, and it makes the difference between a coating that shatters and one that falls off. The flour is seasoned boldly with paprika, garlic powder, onion powder, and a little cayenne, so the crust tastes like fried chicken should taste, not like plain flour that happened to get brown.
Third, this recipe is forgiving in the ways that matter. You do not need a deep fryer, a thermometer is helpful but not essential, and the recipe works with whatever chicken pieces you have, bone-in thighs and drumsticks, breasts, or a whole cut-up chicken. If your oil runs a little hot or a little cool, the chicken still comes out good, as long as you give it time and do not rush it.
And finally, it feeds a crowd without much fuss. One big batch fries up in about half an hour, the chicken holds beautifully on a rack in a warm oven while you fry the rest, and leftovers are genuinely good the next day. It is the kind of cooking that makes a regular Tuesday feel like a small celebration, and I think every home cook deserves a recipe like that.
Ingredients You’ll Need
- 3 1/2 to 4 pounds bone-in, skin-on chicken pieces (a mix of thighs, drumsticks, and breasts, cut so the breasts are in two pieces)
- 2 cups full-fat buttermilk, well shaken
- 1 tablespoon hot sauce, such as Frank’s RedHot
- 2 teaspoons kosher salt, divided
- 1 teaspoon black pepper, divided
- 2 cups all-purpose flour
- 1/2 cup cornstarch
- 1 tablespoon paprika
- 2 teaspoons garlic powder
- 2 teaspoons onion powder
- 1 teaspoon dried thyme
- 1/2 teaspoon cayenne pepper
- 1 teaspoon baking powder
- Peanut oil or vegetable oil, for frying (about 4 cups, enough for 1 inch in the skillet)
- Flaky sea salt, for finishing
How to Make Southern Fried Chicken with Buttermilk
Start the night before, or at least four hours ahead, by getting the chicken into its buttermilk bath. Whisk the buttermilk with the hot sauce, one teaspoon of the kosher salt, and half a teaspoon of the black pepper in a large bowl, then nestle the chicken pieces in so they are mostly covered. If a piece pokes out, turn it now and then, or just use a zip-top bag and squeeze the air out. Cover the bowl and slide it into the fridge. This is the step that makes the chicken juicy, so do not rush it. Four hours is the minimum, overnight is better, and honestly, the chicken only gets better the longer it sits, up to a full day.
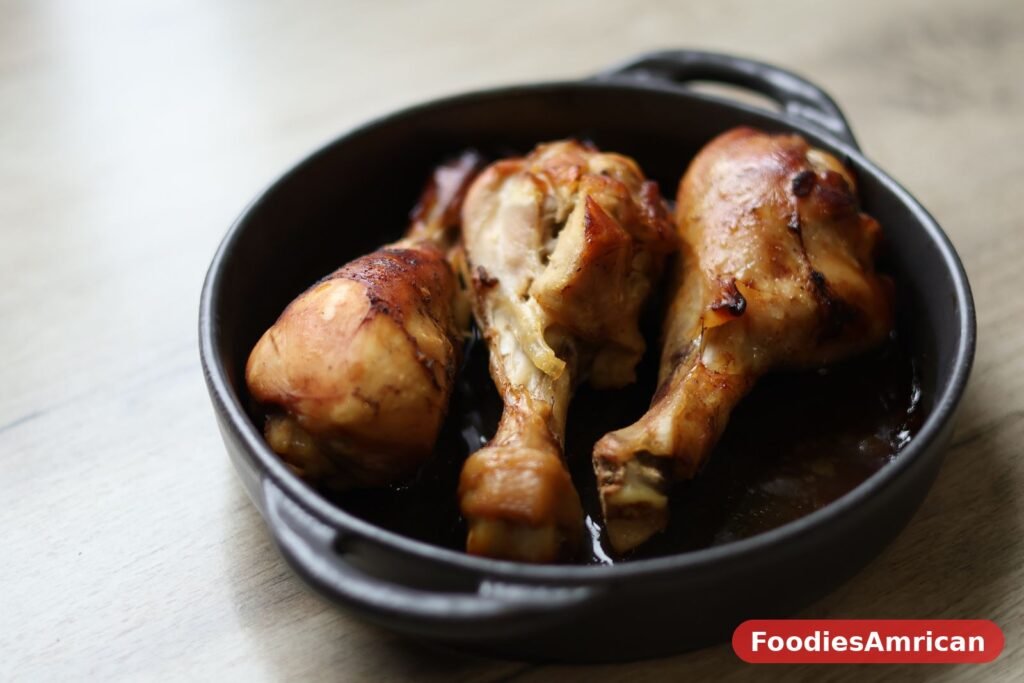
When you are ready to cook, set up your dredging station. In a wide, shallow dish, whisk together the flour, cornstarch, paprika, garlic powder, onion powder, thyme, cayenne, baking powder, and the remaining salt and pepper. The cornstarch is not a gimmick. It lightens the coating and helps it fry up extra crisp, and the baking powder gives it a little lift so the crust is craggy instead of flat. Taste a pinch of the flour mixture if you like. It should taste well seasoned, almost a touch too salty, because a good amount of it stays in the bowl and the chicken needs all the flavor it can get.
Take the chicken out of the fridge and, working one piece at a time, lift it from the buttermilk and let the excess drip off for a few seconds. You want it wet enough for the flour to stick, but not dripping. Press it into the flour mixture, turning it over and patting the flour on firmly with your hands, really pressing it into the skin and into every fold. Then dip it back into the buttermilk quickly, just a second or two, and dredge it a second time, pressing again. That second coat is what builds the thick, craggy crust. Set each coated piece on a wire rack and let it rest for at least fifteen minutes. This rest is the step most people skip and the step that matters most. While it rests, the flour absorbs moisture and turns into a paste that clings to the chicken instead of sliding off in the oil.
While the chicken rests, heat the oil in a large cast iron skillet over medium-high heat until it reaches about 350 degrees. If you do not have a thermometer, drop a pinch of flour into the oil. It should sizzle right away and turn golden in about thirty seconds. If it sinks and sits there, the oil is too cool. If it burns instantly, it is too hot, so pull the pan off the heat for a minute. A cast iron skillet is ideal here because it holds its heat, which keeps the oil temperature steady when the cold chicken goes in.
Fry the chicken in batches, skin side down first, and do not crowd the pan. Three or four pieces at a time is plenty for a twelve-inch skillet. Crowding drops the oil temperature fast, and cold oil makes greasy chicken. Let the pieces fry undisturbed for about six or seven minutes, until the underside is deep golden brown, then turn them gently with tongs and fry the other side for another six to seven minutes. Big breast pieces may need a few minutes more. The chicken is done when the crust is a rich golden brown and the thickest part reads 165 degrees on an instant-read thermometer. If the crust is browning too fast before the meat is done, turn the heat down a notch and let it finish more slowly. That is better than pulling undercooked chicken out of the pan.
Move the finished pieces to a clean wire rack set over a baking sheet, not to paper towels. Paper towels trap steam underneath and soften the crust you just worked for. Sprinkle the hot chicken with a little flaky sea salt right away, while the crust is still tacky enough to hold it. Keep the finished batches warm in a 200 degree oven while you fry the rest, and let the oil come back up to temperature between batches. Give it a minute or two. That pause is the difference between the first batch and the last batch tasting the same.
Let the chicken rest for five minutes before serving. I know, it is hard to wait when it smells that good, but those few minutes let the juices settle back into the meat instead of running out onto the plate at the first bite. Then serve it hot, with plenty of napkins, because this is not a knife-and-fork kind of meal, no matter how politely you start out.
Tips for the Best Fried Chicken
Keep everything cold until it hits the oil. Cold chicken in hot oil fries better than room-temperature chicken, because the temperature difference helps the crust set fast before the meat overcooks. That is also why you should not let the coated chicken sit out on the counter for an hour. Fifteen to thirty minutes of rest is right, and the fridge is a fine place for it if your kitchen is warm.
Watch your oil temperature like it matters, because it does. Too hot and the crust burns before the inside cooks. Too cool and the chicken soaks up oil and turns greasy. A thermometer takes the guesswork out, and a cheap one is worth every penny if you fry chicken more than once a year. If you are going by feel, remember that the oil should be actively bubbling around the chicken the whole time, not barely simmering and not spitting violently.
Use a heavy skillet, ideally cast iron. Thin pans lose heat the moment cold chicken goes in, and the temperature swings make the crust uneven. Cast iron holds steady, which means every piece fries about the same. If all you have is a deep pot, that works too, and it is actually safer for splatter, but you will use more oil.
Do not turn the chicken too often. Once, maybe twice, is enough. Every time you flip it, you disturb the crust while it is still setting, and you cool the oil a little. Let it be. Good fried chicken is mostly about leaving it alone and letting the heat do its job, which is a nice lesson for cooking in general.
If you are frying for a crowd, the oven is your friend. Hold finished pieces on a rack in a 200 degree oven for up to an hour, and they stay hot and crisp. Just do not cover them with foil, which traps steam and softens the crust. An open rack in a low oven is the way.
Variations to Try
For a spicier version, add a tablespoon of hot sauce to the buttermilk and bump the cayenne up to a full teaspoon in the flour, then finish the fried chicken with a drizzle of honey. The sweet heat is addictive, and it is a nod to the hot honey style that has become so popular, without changing anything fundamental about the recipe.
If you like a herby crust, add a tablespoon of finely chopped fresh rosemary and a teaspoon of dried sage to the flour mixture. It gives the chicken a more savory, almost Thanksgiving-like flavor that is wonderful in the fall, and it pairs beautifully with mashed potatoes and gravy.
For a lighter, gluten-free version, swap the all-purpose flour for a good gluten-free flour blend and keep the cornstarch, which is already gluten-free. The crust comes out a little more delicate, so handle the pieces gently when turning, but the flavor and the crunch are still very much there.
You can also turn this into a sandwich situation. Slice a fried breast or thigh, tuck it into a soft potato bun with pickles and a smear of mayo, and you have a fried chicken sandwich that beats most takeout. Add a little shredded lettuce and a spoonful of hot sauce, and nobody at the table will complain.
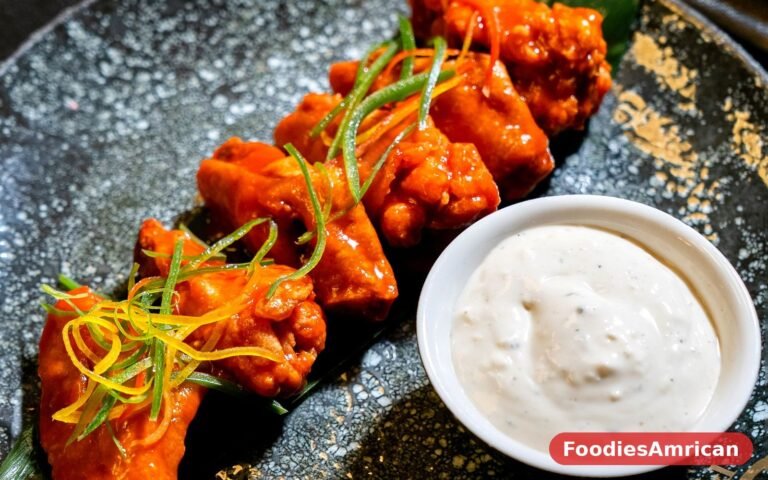
And if you want to use the same buttermilk method for other cuts, it works beautifully on boneless thighs for quicker frying, or on wings for game day. Just shorten the fry time for smaller pieces and check the temperature, since wings cook fast and dry out if you leave them in too long.
Serving Ideas
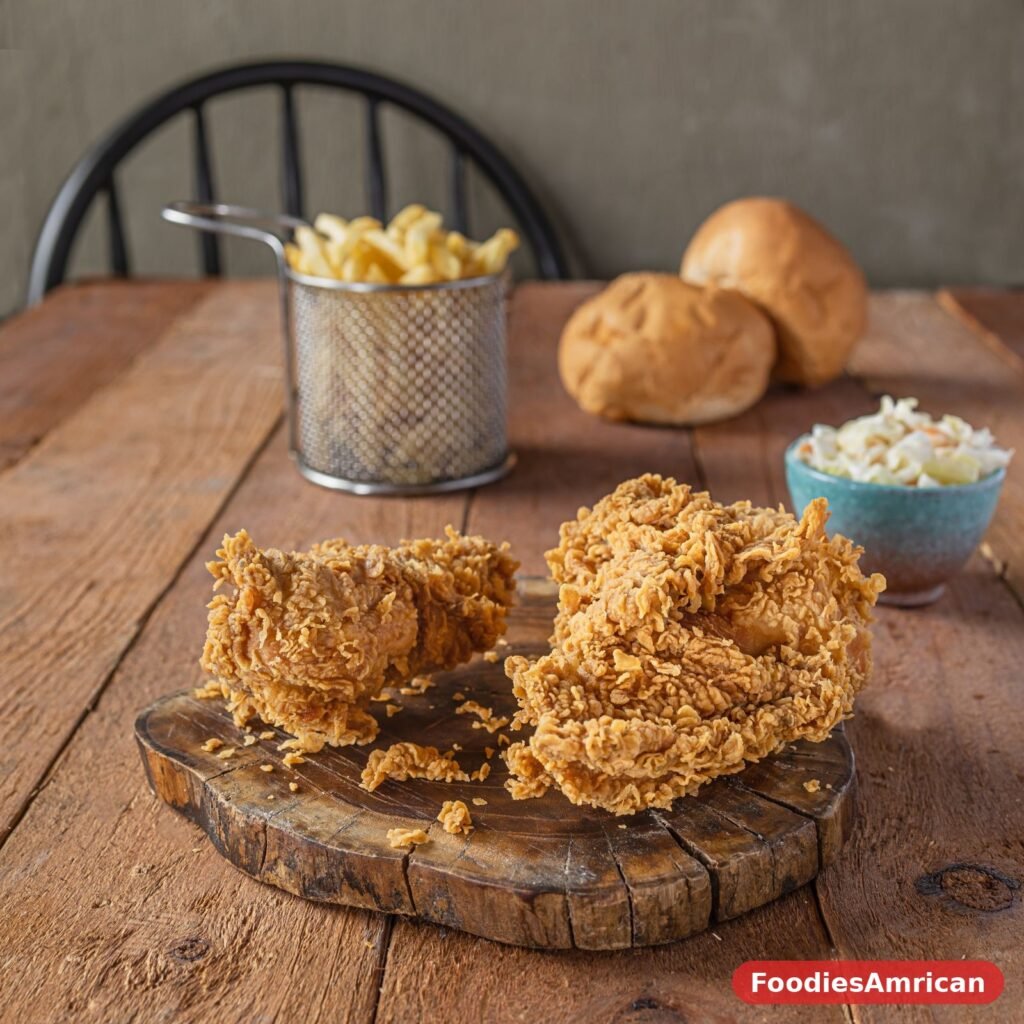
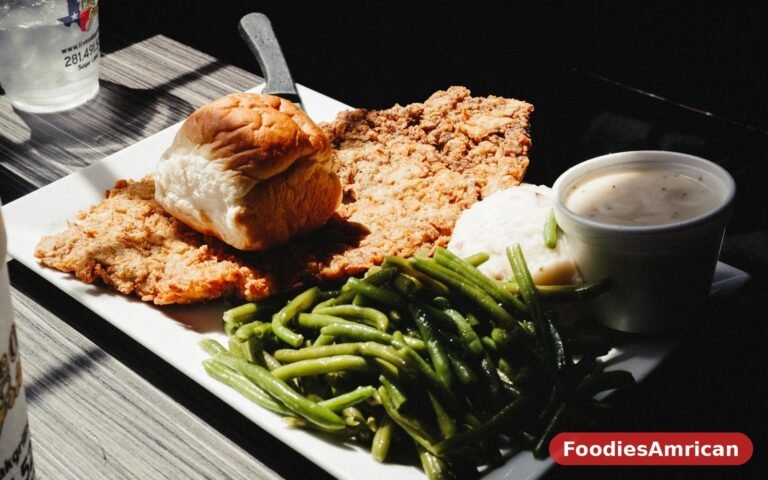
The classic plate is hard to beat: fried chicken, mashed potatoes with gravy, collard greens or green beans, and a buttermilk biscuit to mop up whatever is left. It is the Sunday dinner I grew up with, and there is a reason it has survived this long. The creamy potatoes and the salty, tangy greens balance the richness of the chicken perfectly.
For a summer table, go lighter. A big chopped salad, corn on the cob with butter, and a pitcher of sweet tea make the chicken feel like a picnic, even if you are eating at the kitchen table. Coleslaw is another natural partner, and its cool crunch is a nice contrast to the hot, crisp crust.
If you are feeding kids, or feeding adults who eat like kids, cut the chicken into strips after frying and serve it with honey mustard and ranch for dipping. It is the same chicken, just more fun to eat, and it disappears faster than you would believe. For more chicken inspiration, our homemade crispy chicken tenders without deep frying use a similar seasoning and are a great weeknight alternative.
And do not forget the drinks. Sweet tea is the traditional choice, but a cold lemonade or a light lager works just as well. The point is something cold and refreshing to cut through the richness, because this is rich food, and that is exactly why we love it.
Storage and Reheating
Store leftover fried chicken in the fridge in a container lined with paper towels, with the lid left slightly ajar or the pieces wrapped loosely in foil. It keeps well for three to four days. The paper towels absorb a little moisture and help the crust stay drier than it would in a sealed, steamy box. Do not stack the pieces directly on top of each other if you can help it, or the bottom pieces will go soft.
To reheat, the oven or the air fryer is your best bet, and the microwave is your worst. Heat the oven to 400 degrees, set the chicken on a wire rack over a baking sheet, and bake for about fifteen minutes, until the crust is crisp again and the meat is hot all the way through. In the air fryer, 375 degrees for about eight minutes does the same job, and it is honestly the better tool for one or two pieces.
You can also eat it cold, straight from the fridge, and plenty of people will tell you that is the best way. I am not going to argue with them. Cold fried chicken on a summer afternoon, eaten over the sink, is a small joy, and it needs no improvement.
If you want to freeze it, let the chicken cool completely, wrap each piece tightly in foil, then put the wrapped pieces in a freezer bag and freeze for up to two months. Thaw overnight in the fridge and reheat in the oven as above. The crust will not be quite as shattering as it was on day one, but it will still be very good, and sometimes very good is exactly enough.
Frequently Asked Questions
How long should I soak chicken in buttermilk?
Four hours is the minimum for a noticeable difference, and overnight is ideal. The buttermilk gently tenderizes the meat and seasons it from the inside, so the longer soak really does pay off. Do not go past twenty-four hours, though, because the acid can start to make the texture a little too soft. If you are short on time, even two hours is better than nothing, but try to plan ahead when you can.
Why did my coating fall off in the oil?
This usually comes down to three things: the coating did not rest before frying, the oil was not hot enough, or the chicken was turned too soon. Let the coated pieces rest on a rack for at least fifteen minutes so the flour hydrates and sticks. Make sure the oil is at 350 degrees before the chicken goes in, and let the first side fry undisturbed for six or seven minutes so the crust sets before you flip it.
Can I make this fried chicken in the air fryer?
You can, with a few adjustments. Spray the coated chicken generously with oil on all sides, air fry at 380 degrees for about twenty to twenty-five minutes, flipping halfway, until the crust is golden and the meat reaches 165 degrees. The crust will be crisp but a little less craggy than the skillet version, and it will not be quite as rich. It is a good lighter option, and if you enjoy air frying, our air fryer onion rings make a great side for it.
What oil is best for frying chicken?
Peanut oil is the classic choice because it has a high smoke point and a neutral flavor that lets the chicken shine. Vegetable oil, canola oil, and shortening all work well too. Avoid olive oil, which smokes at frying temperatures and brings a flavor that does not suit this dish. Whichever oil you use, strain it after it cools if you want to reuse it once, and discard it when it smells off or looks dark.
Can I use boneless chicken for this recipe?
Yes, boneless thighs and breasts work well and fry faster, usually in about four to five minutes per side. Boneless meat does dry out more easily, so do not skip the buttermilk soak, and watch the temperature closely. Bone-in pieces stay juicier and are more forgiving, which is why I recommend them, but boneless is a fine choice for sandwiches and quicker weeknight frying.
How do I know the chicken is done without a thermometer?
The crust should be deep golden brown, the juices should run clear when you pierce the thickest part near the bone, and the meat should no longer be pink. That said, a thermometer is the only way to be sure, and chicken is one of those foods where guessing is not worth the risk. The safe internal temperature is 165 degrees, and a good guide is the chicken food safety information from Bon Appetit, which covers their tested method. For the science behind why fried chicken works the way it does, the history and technique of fried chicken is a fun read, and our one-pot American chicken and rice is another cozy way to use chicken if frying is not on the menu tonight. For a different take on the same comfort, our classic chicken and dumplings is the ultimate cold-weather dinner.
One Comment