Classic Chocolate Layer Cake
There are some desserts that never go out of style, and a classic chocolate layer cake sits right at the top of that list. It is the cake that shows up at birthdays, anniversaries, graduations, and quiet Sunday dinners alike, and it never fails to make the room go a little quieter when the first slice is cut. The smell of it baking — deep, warm cocoa filling the whole house — is one of those kitchen memories that sticks with you for years, and it is the reason so many of us learned to bake in the first place.
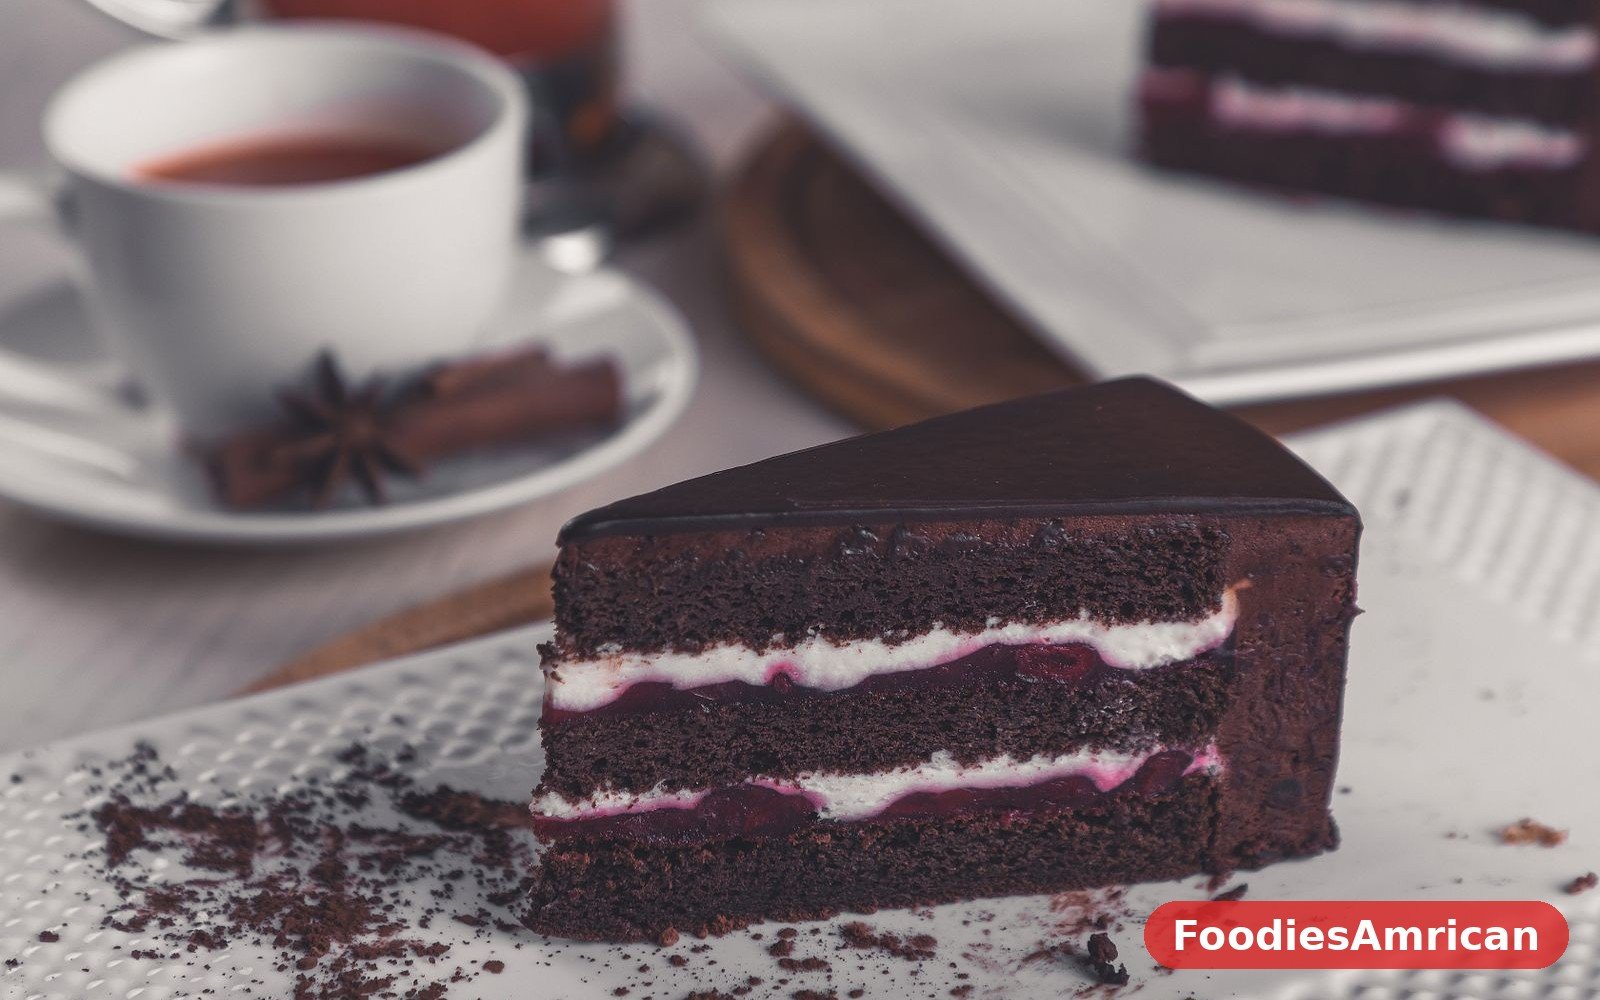
What makes this particular cake worth making again and again is not any fancy technique or hard-to-find ingredient. It is an honest, old-fashioned recipe built on pantry staples: flour, cocoa, sugar, eggs, butter, and buttermilk. The crumb comes out tender and moist, the chocolate flavor is deep without being bitter, and the frosting is the kind you want to eat straight from the bowl with a spoon. Nothing here is trying too hard. It is simply a very good chocolate cake, made the way American home bakers have been making it for generations.
If you have ever been disappointed by a dry chocolate cake or a frosting that tasted more like sugar than chocolate, this recipe will set things right. The secret is a combination of small, sensible choices: hot coffee to bloom the cocoa and deepen its flavor, buttermilk to keep the crumb soft, and a little oil alongside the butter so the cake stays moist even after a day or two in the fridge. None of these steps are difficult, and none of them require special equipment — just a couple of round pans, a mixing bowl, and a little patience while the layers cool.
This is also a wonderfully forgiving cake to make with kids or for a first-time baker. The batter comes together in one bowl, the frosting is a simple beat-and-spread affair, and even if your layers are not perfectly level, a generous swoop of frosting hides a multitude of sins. By the end of this recipe, you will have a tall, proud, three-layer cake that looks like it came from a bakery and tastes like it came from your grandmother’s kitchen. That is exactly the point.
Why You’ll Love This Recipe
First and foremost, this cake tastes like chocolate — real, deep, grown-up chocolate flavor, not the pale, sugary sweetness that so many boxed mixes deliver. The cocoa is bloomed in hot coffee before it ever meets the flour, which wakes up the flavor and gives the cake a richness that people notice on the very first bite. If you have never tried the coffee trick before, you are in for a pleasant surprise: the cake does not taste like coffee at all, it just tastes more like chocolate.
Second, the texture is exactly what a layer cake should be. The crumb is soft and tender, with a fine, even grain that holds together when you slice it but practically melts on your tongue. Buttermilk and a touch of oil work together here to keep the cake moist for days, so you can bake the layers on a Saturday and still serve a beautiful, fresh-tasting cake on Monday. That makes it a genuinely practical choice for parties, because the baking and the serving do not have to happen on the same day.
Third, this is a recipe that respects your time and your kitchen. There is no melting chocolate in a double boiler, no separating eggs, no fussy folding. You whisk the dry ingredients, whisk the wet ingredients, combine them, and bake. The frosting is made in the same bowl you used for the batter, and the whole thing — from measuring the first cup of flour to sliding the finished cake onto its plate — takes about two hours, most of which is hands-off cooling time. For a cake that looks this impressive, that is a very fair trade.
Finally, this cake is a canvas. It is wonderful exactly as written, but it also takes kindly to every variation you can dream up: a layer of raspberry jam tucked between the layers, a handful of toasted pecans pressed into the sides, a drizzle of salted caramel over the top, or a scoop of vanilla ice cream alongside each slice. Once you have this base recipe in your back pocket, you will find yourself reaching for it every time a celebration comes around, and each time it will feel a little more like your own.
Ingredients You’ll Need
- 2 cups all-purpose flour
- 2 cups granulated sugar
- 3/4 cup unsweetened cocoa powder, Dutch-process or natural
- 2 teaspoons baking soda
- 1 teaspoon baking powder
- 1 teaspoon fine salt
- 1 cup buttermilk, at room temperature
- 1/2 cup vegetable oil
- 2 large eggs, at room temperature
- 2 teaspoons vanilla extract
- 1 cup hot brewed coffee, or hot water
- 1 cup unsalted butter, softened, for the frosting
- 3 1/2 cups powdered sugar, sifted, for the frosting
- 3/4 cup unsweetened cocoa powder, for the frosting
- 1/2 cup heavy cream, for the frosting
- 2 teaspoons vanilla extract, for the frosting
- 1/4 teaspoon fine salt, for the frosting
How to Make Classic Chocolate Layer Cake
Start by getting your oven and pans ready, because a chocolate cake batter waits for no one once it is mixed. Preheat the oven to 350°F and grease two 9-inch round cake pans, then line the bottoms with rounds of parchment paper and grease the parchment lightly as well. The parchment is not optional fussiness — it is the difference between a layer that slides out cleanly and one that sticks and tears at the worst possible moment. A light dusting of cocoa powder over the greased pans, instead of flour, keeps the outside of the cake dark and pretty rather than dusted white.
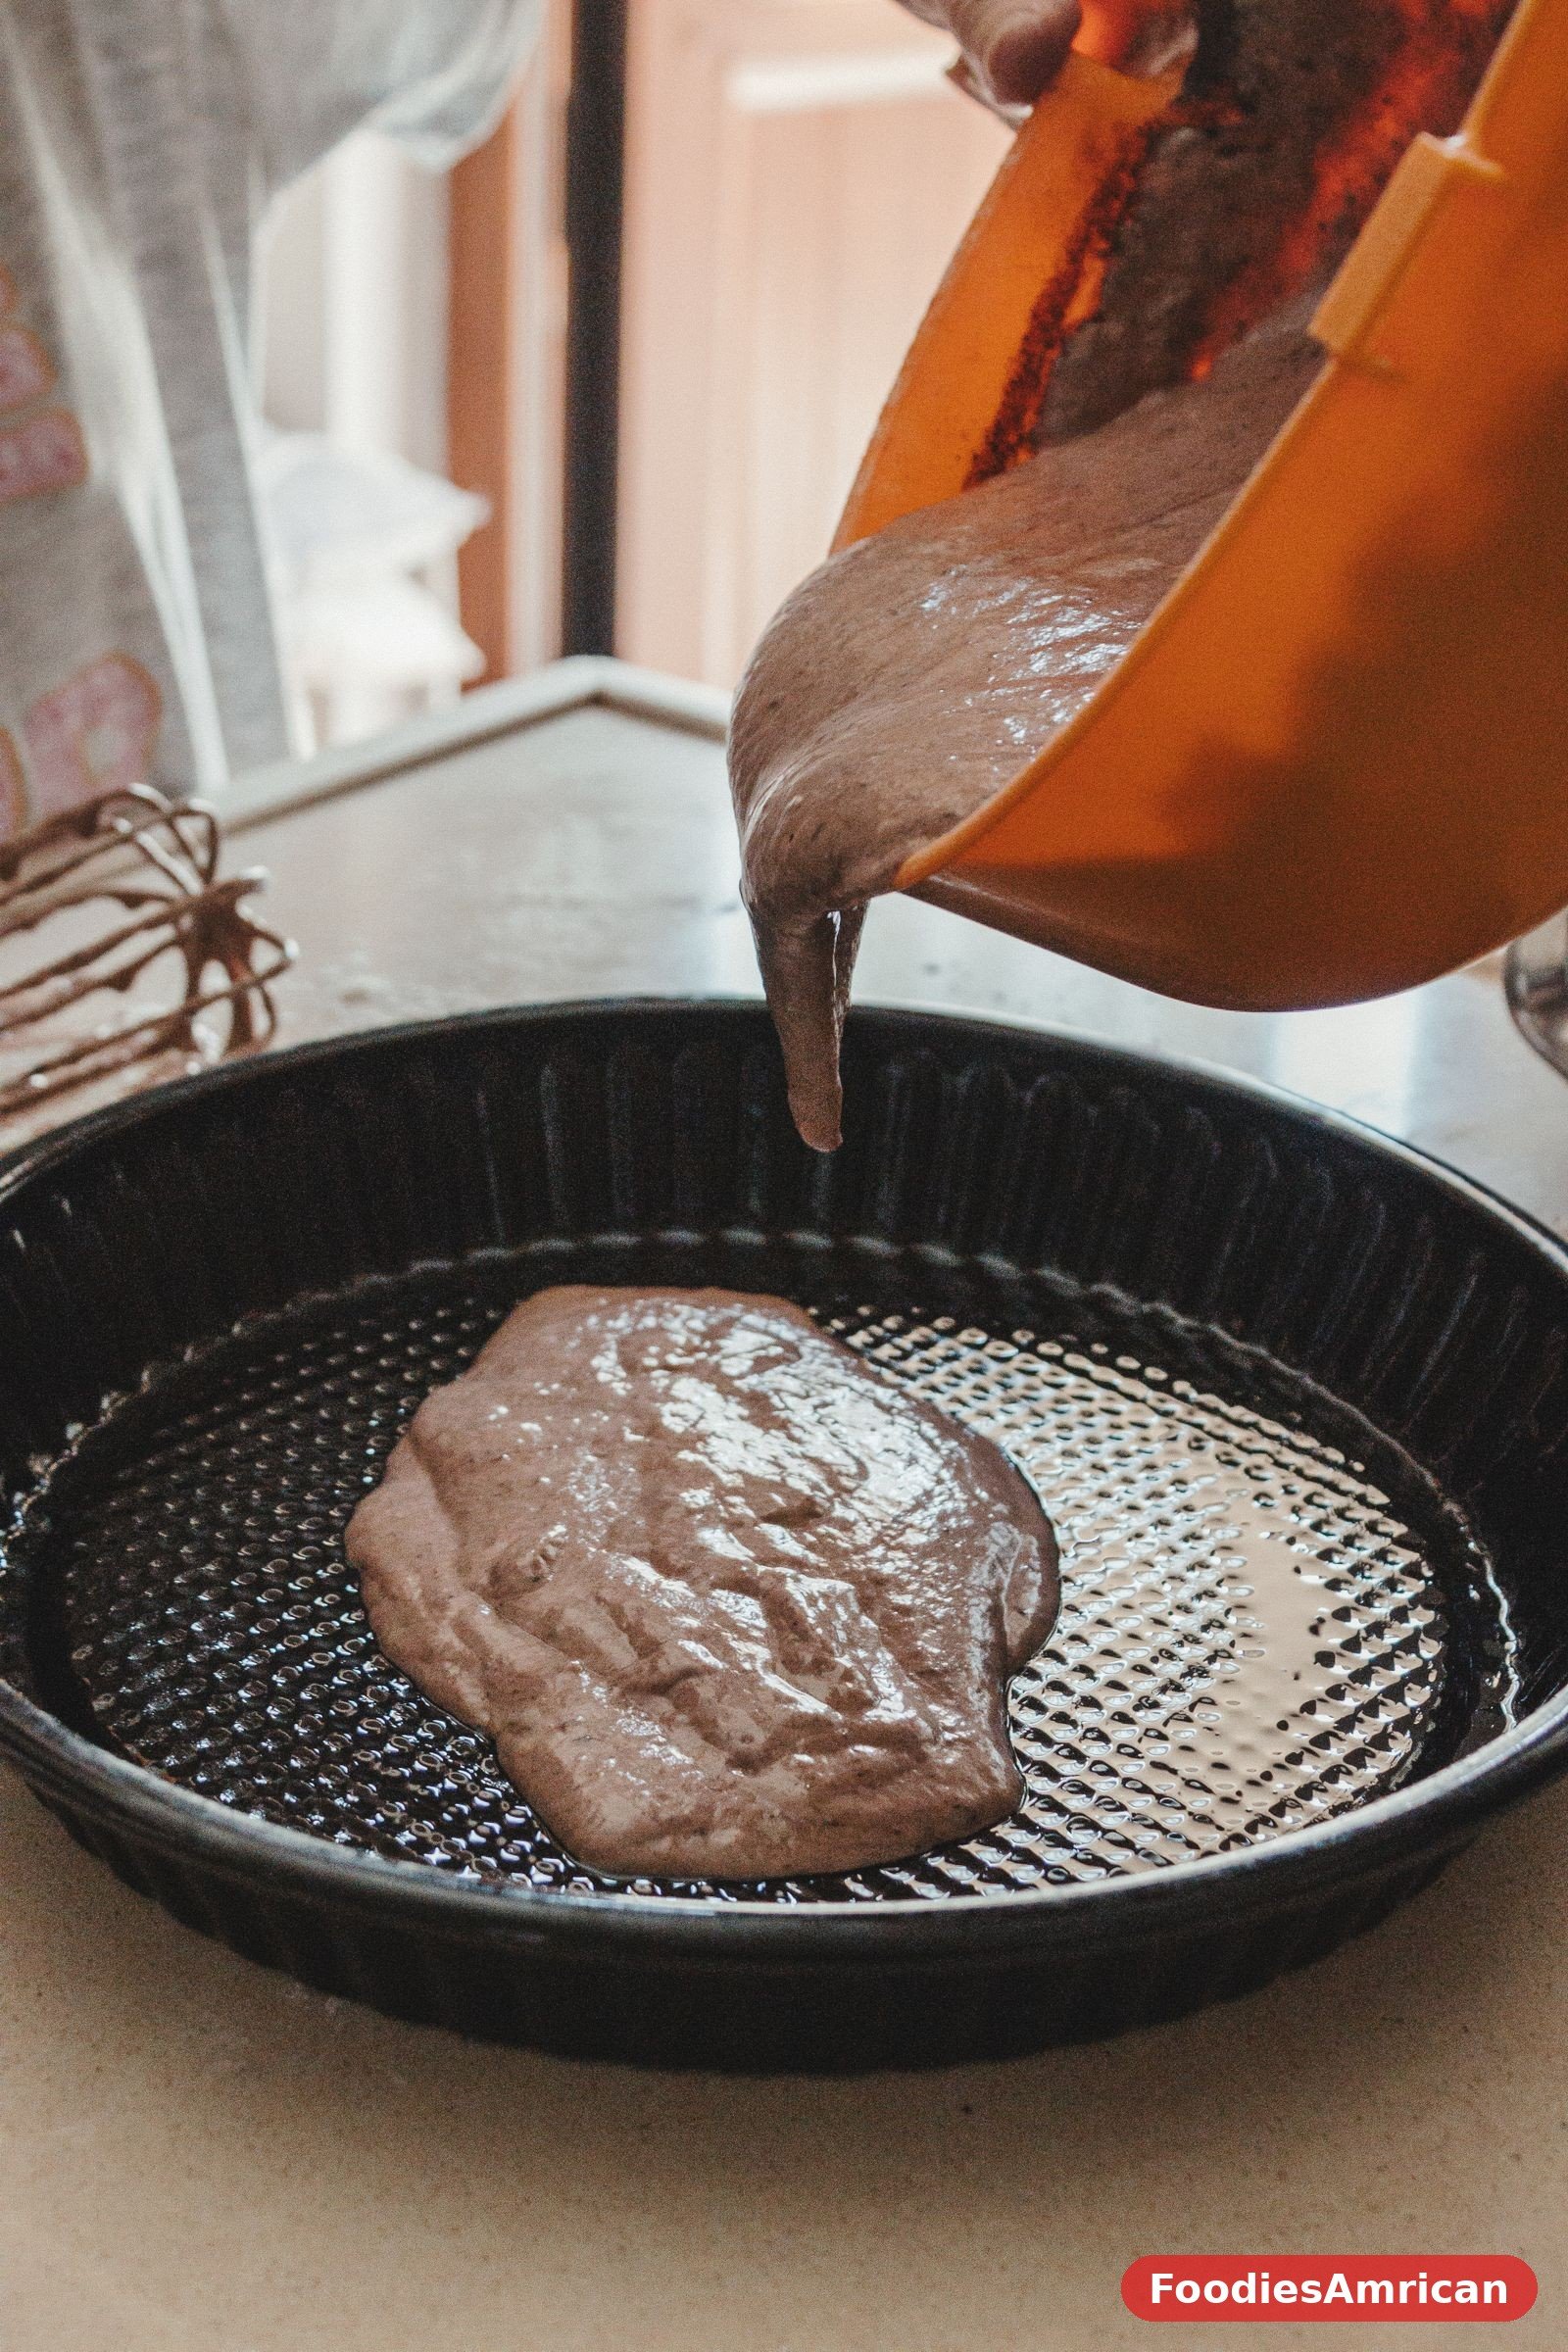
In a large mixing bowl, whisk together the flour, sugar, cocoa powder, baking soda, baking powder, and salt until everything is evenly combined and there are no lumps of cocoa hiding in the corners. Take a moment with this step, because cocoa loves to clump, and a lump of dry cocoa in the finished cake is a small but real disappointment. In a separate bowl or large measuring jug, whisk together the buttermilk, oil, eggs, and vanilla until smooth and pale. Pour the wet ingredients into the dry ingredients and stir with a wooden spoon or a spatula until the batter is mostly combined, with just a few streaks of flour still visible.
Now comes the step that makes this cake special. Pour in the hot coffee and stir gently until the batter is smooth and glossy. The batter will be thin — much thinner than most cake batters — and that is exactly right, so do not panic and do not add extra flour. The thin batter is what bakes up into that soft, moist crumb. The coffee should be hot but not boiling, and if you would rather skip it, hot water works too, though you will lose a little of that deepened chocolate flavor. Stir just until everything comes together; overmixing at this stage is the one thing that can make the cake tough.
Divide the batter evenly between the two prepared pans, using a kitchen scale if you have one, or simply eyeballing it by pouring half into each pan. Give each pan a gentle tap on the counter to pop any large air bubbles, then slide them into the center of the oven. Bake for 30 to 35 minutes, until a toothpick inserted into the center of each layer comes out with just a few moist crumbs clinging to it, and the top of the cake springs back lightly when you press it with a fingertip. The edges will just begin to pull away from the sides of the pan, which is your cue that the layers are done.
Let the layers cool in their pans on a wire rack for about 15 minutes. This resting time matters, because a hot cake is fragile and will break if you try to move it too soon. After 15 minutes, run a thin knife around the edge of each pan, invert the layers onto the rack, peel off the parchment, and let them cool completely — at least an hour — before you even think about frosting. Frosting a warm cake is the classic beginner mistake, and it ends with frosting sliding off in sad, melted sheets. Patience here is the whole game.
While the layers cool, make the frosting. Beat the softened butter in a large bowl until it is creamy and pale, about two minutes. Add the sifted powdered sugar and cocoa powder in two or three additions, beating on low speed at first so you do not send a cloud of cocoa across your kitchen, then increasing the speed as the mixture comes together. Pour in the heavy cream, vanilla, and salt, and beat on medium-high for two to three minutes until the frosting is fluffy, smooth, and spreadable. If it feels too thick, add cream a tablespoon at a time; if it feels too soft, add a little more powdered sugar.
To assemble, place the first layer on your serving plate or cake stand, flat side up, and if the top has a slight dome, trim it level with a long serrated knife so the cake sits straight. Spread about a cup of frosting over the top, right out to the edges, then set the second layer on top, flat side down. Spread a thin crumb coat — a sheer layer of frosting over the whole cake — and pop the cake into the fridge for 20 minutes. This chills the crumbs in place so your final coat goes on clean and smooth. Then spread the remaining frosting over the top and sides, swirling it with the back of a spoon or an offset spatula, and step back to admire your work.
Tips for the Best Chocolate Layer Cake
Room-temperature ingredients are the quiet foundation of a good cake, so take the buttermilk, eggs, and butter out of the fridge a good 30 to 45 minutes before you start. Cold eggs do not emulsify well into the batter, and cold buttermilk can cause the batter to seize up and bake unevenly. If you forgot to plan ahead, set the eggs in a bowl of warm water for ten minutes and microwave the buttermilk in five-second bursts until it loses its chill. These little rescues work perfectly well.
Measure your flour the right way, because too much flour is the number one reason homemade cakes turn out dry. Spoon the flour into your measuring cup and level it off with the back of a knife, rather than scooping directly from the bag, which packs the flour down and can add as much as a quarter cup extra. If you own a kitchen scale, weigh it instead: two cups of all-purpose flour is about 240 grams, and that number never lies. The same care applies to the cocoa powder, which should also be spooned and leveled.
Do not skip the parchment rounds, and do not try to frost a warm cake, no matter how tempting it is when the kitchen smells this good. Both of these are the kind of small disciplines that separate a cake that looks homemade in the best way from one that looks homemade in the apologetic way. A chilled crumb coat, as described above, is the professional trick that makes the biggest difference for the least effort, and once you try it you will never go back to frosting a bare cake in one go.
Finally, taste your frosting before you spread it. Cocoa powders vary more than people expect — some are mild, some are intense, some lean bitter — and a frosting that tastes a touch flat can be rescued with a pinch more salt or a splash more vanilla. A frosting that tastes too sweet can be balanced with an extra tablespoon of cocoa or a spoonful of cream. You are the cook, and the frosting is yours to adjust until it tastes the way you want it to. You can also compare notes with King Arthur Baking’s chocolate cake recipe, which uses a similar butter-and-oil crumb and is a good reference for how the layers should look when they are done. For more ideas on building a celebration dessert table, take a look at our classic New York cheesecake, which pairs beautifully with this cake at a party.
Variations to Try
If you love the combination of chocolate and coffee, lean into it by adding a teaspoon of instant espresso powder to the dry ingredients. It will not make the cake taste like coffee — it will simply make the chocolate taste more intensely of itself, the way a pinch of salt makes caramel taste more like caramel. For a mocha version, dissolve a tablespoon of espresso powder into the hot coffee before adding it to the batter, and stir a teaspoon of espresso powder into the frosting as well.
For a chocolate raspberry layer cake, spread a thin layer of seedless raspberry jam over the frosting between the layers, and scatter a handful of fresh raspberries over the top just before serving. The tartness of the raspberries cuts through the richness of the frosting in the most satisfying way, and the red against the dark chocolate looks stunning on the table. A similar trick works with cherry preserves, or with a layer of salted caramel sauce if you prefer something sweeter and stickier.
A peanut butter version is a guaranteed crowd-pleaser, especially with kids. Swap half of the butter in the frosting for creamy peanut butter, and sprinkle chopped roasted peanuts over the top of the finished cake. Or keep the chocolate frosting as written and spread a layer of peanut butter between the cake layers instead. Either way, the combination of chocolate and peanut butter is one of those pairings that never fails, and it turns this everyday classic into something that feels a little more special.
If you need to make this cake ahead for a birthday, the layers freeze beautifully. Wrap each cooled layer tightly in plastic wrap, then in foil, and freeze for up to a month. Thaw them in the fridge overnight, still wrapped, and frost the next day. The cake will taste every bit as fresh as the day you baked it, and you will have taken all the stress out of party day. Our old-fashioned apple pie freezes just as well, if you are planning a whole dessert spread in advance. Taste of Home’s favorite chocolate cake is another three-layer take on the same idea, with a brown sugar crumb that is worth trying if you like a slightly sweeter cake.
Serving Ideas
A slice of chocolate layer cake needs very little help, but a few thoughtful touches turn a good dessert into a memorable one. A tall glass of cold milk is the classic partner, and it is classic for a reason: the cold, creamy milk against the rich, dark cake is one of life’s small perfect pairings. For adults, a cup of strong black coffee or a small glass of dessert wine does the same job, cutting through the sweetness and letting the chocolate flavor shine.
For a dinner party, serve each slice on a chilled plate with a spoonful of lightly sweetened whipped cream and a few fresh berries on the side. The berries add color and a bright, tart contrast, and the whipped cream softens the whole plate. If you want to go a little further, a warm chocolate sauce drizzled over the slice, or a scoop of vanilla ice cream melting slowly into the cake, will have your guests asking for the recipe before they have finished eating.
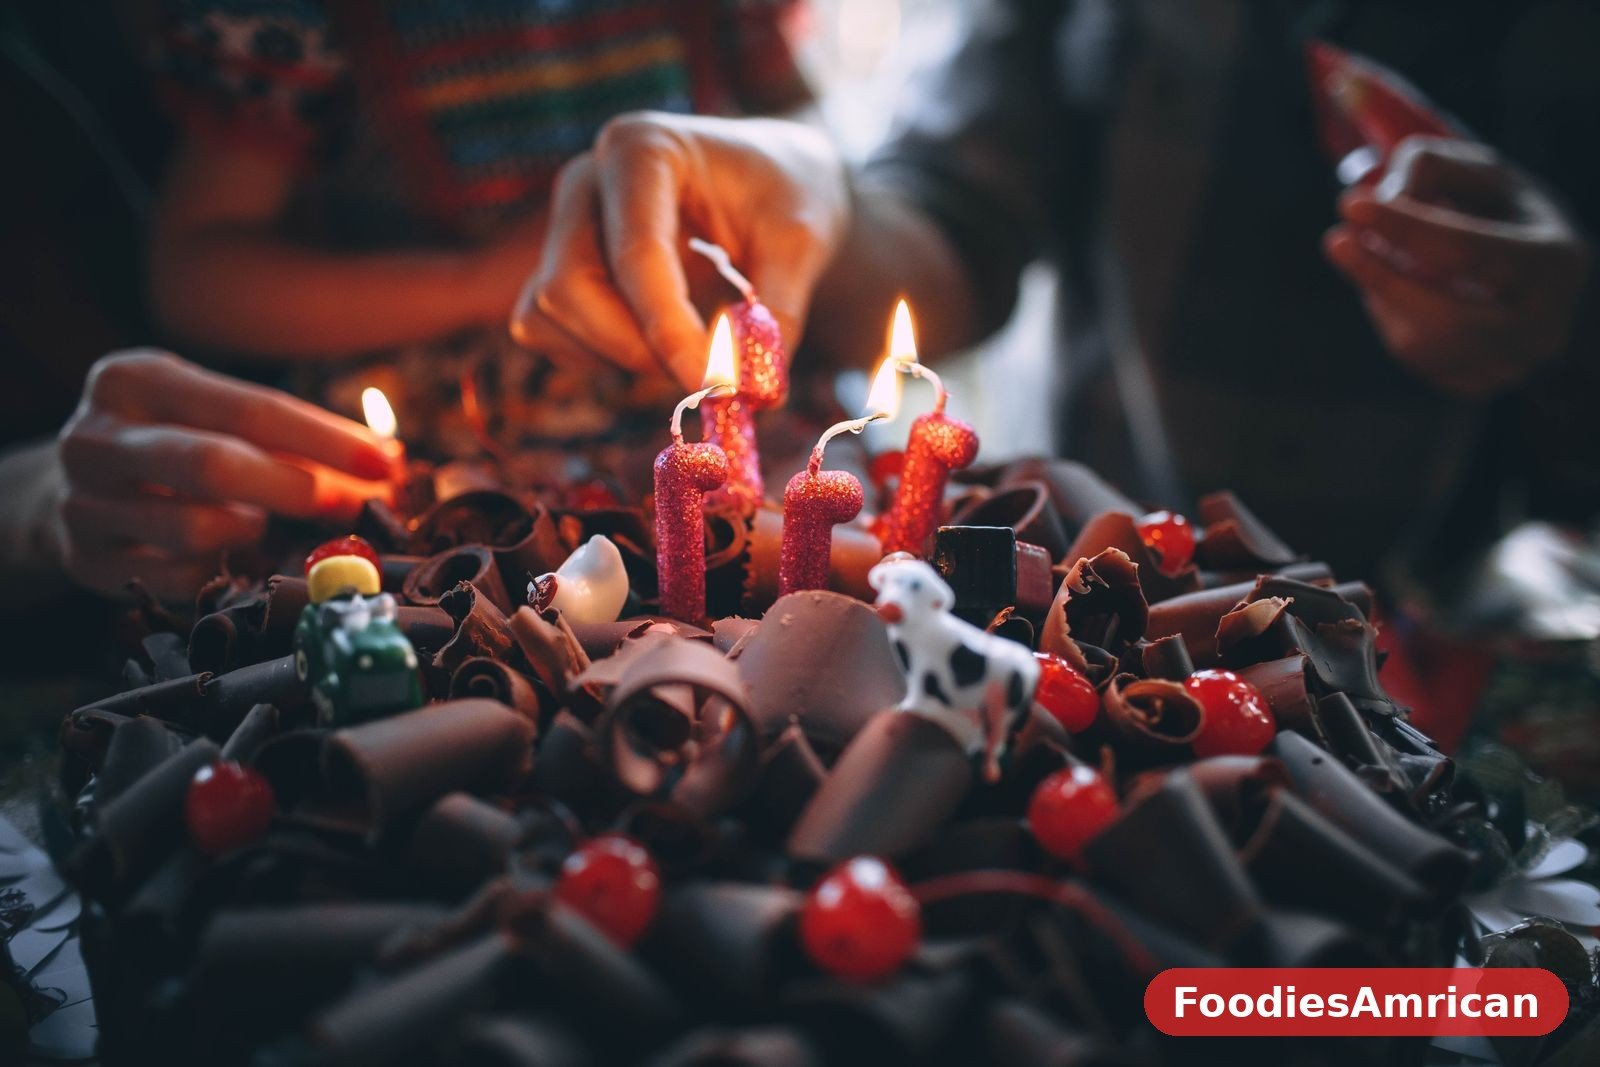
This cake is also a natural centerpiece for a birthday, and it holds candles beautifully — the frosting is firm enough to anchor them, and the layers are sturdy enough to survive being carried to the table while everyone sings. Cut the cake with a long, thin knife dipped in hot water and wiped clean between slices, and you will get those neat, bakery-style wedges that show off the layers. For a weeknight treat, a smaller slice with a cup of tea is more than enough, because this cake is rich, and a little goes a long way. If you are building a whole comfort-food menu around a celebration, our guide to American comfort food recipes for beginners has plenty of main dishes that lead up to a cake like this one.
Storage and Reheating
Store the finished cake under a cake dome or in an airtight container at room temperature for up to two days, or in the fridge for up to five days. If you refrigerate it, let slices come back to room temperature for about 30 minutes before serving, because cold cake is firmer and less flavorful than cake served at room temperature, and the frosting needs a little time to soften back to its silky best. A brief 10 seconds in the microwave will also do the job if you are impatient, but watch it closely — you want the frosting just softened, not melted.
Leftover slices freeze well for up to a month. Wrap each slice individually in plastic wrap, then place the wrapped slices in a freezer bag, squeezing out as much air as you can before sealing. Thaw a slice in the fridge overnight, or on the counter for an hour or two, and it will taste nearly as good as fresh. This is a handy trick if you baked a big cake for a small household and do not want to eat chocolate cake for five days straight, admirable as that might sound.
Unfrosted layers can be wrapped and stored at room temperature for a day, in the fridge for three days, or in the freezer for up to a month, which makes this a very practical make-ahead recipe. If you are planning a party, bake the layers a day or two early, keep them wrapped, and frost on the day of the event. You will be calmer, your kitchen will be cleaner, and the cake will be just as good. And if you have any frosting left over, it keeps in the fridge for a week and is wonderful spread on toast, sandwiched between graham crackers, or eaten, honestly, straight from the tub with a spoon — we are not here to judge.
Frequently Asked Questions
Can I make this chocolate layer cake without coffee?
Yes, absolutely. You can replace the hot coffee with the same amount of hot water, and the cake will still be moist, tender, and delicious. The coffee is there to deepen the chocolate flavor, not to add a coffee taste, so the water version will simply taste a little milder and a touch sweeter. If you want some of that depth without coffee, add a teaspoon of instant espresso powder to the dry ingredients — it boosts the chocolate flavor without making the cake taste like a mocha.
Why is my chocolate cake dry?
The most common causes are too much flour, overbaking, or an oven that runs hot. Measure your flour by spooning it into the cup and leveling it off, or weigh it if you can, and start checking the cake a few minutes before the stated baking time. A toothpick should come out with a few moist crumbs, not perfectly clean — a perfectly clean toothpick usually means the cake is already a minute or two past its best. Also, make sure you are using both the butter and the oil as written, because the oil is what keeps the crumb moist for days.
Can I bake this cake in a 9×13-inch pan instead?
Yes, you can pour the whole batter into a greased and floured 9×13-inch pan and bake it for about 35 to 40 minutes at the same temperature. You will get a single-layer sheet cake that is perfect for potlucks and picnics, and you can frost the top right in the pan. The layers version looks more impressive, but the sheet cake version tastes exactly the same, and it is much easier to transport and serve to a crowd.
How do I keep my cake layers from sticking to the pan?
Grease the pans well, line the bottoms with parchment paper rounds, and grease the parchment too. Let the layers cool in the pan for 15 minutes before turning them out — too soon and they are fragile, too long and they can stick as the sugar cools and firms up. Running a thin knife around the edge before inverting also helps. If a layer does stick despite your best efforts, do not panic: the frosting and the other layer will hide the damage, and nobody will ever know.
Can I use natural cocoa powder instead of Dutch-process?
Yes, this recipe works with either type of cocoa powder, and the difference in the finished cake is small. Dutch-process cocoa gives a slightly darker color and a smoother, less acidic flavor, while natural cocoa gives a lighter brown color and a touch more bite. Because this recipe uses baking soda, which needs an acid to work, natural cocoa is actually the slightly better partner on paper — but in practice, either one bakes up beautifully, so use whichever cocoa you have in the pantry.
How far ahead can I make this cake for a party?
You can bake the layers up to a month ahead and freeze them, or up to two days ahead and keep them wrapped at room temperature or in the fridge. The fully frosted cake can be made one day ahead and kept in the fridge, then brought to room temperature for about an hour before serving. For the very best texture and flavor, frost the cake no more than a day before you plan to serve it, and store any leftovers as described above. If you love baking ahead, our small-batch chocolate chip cookies are another great make-ahead treat that freezes beautifully.